Showing posts with label Saltwater Quilts. Show all posts

Monday, February 3, 2014

Mug Rug Blog Hop: Day 5

 Welcome back for the fifth day of our Mug Rug Blog Hop! 
Candace from Saltwater Quilts is here today, sharing a ruffled patchwork mug rug made using the Gramercy collection by Kitty Yoshida. We hope you try out her design, and then don't forget to scroll down to the end of the post to find out how to enter for a chance to win a fat quarter bundle of fabric!


Hello, my name is Candace and I regularly blog at SaltwaterQuilts.com. I am excited to share a fun mug rug tutorial with you using the fabrics from the Gramercy collection from Benartex. This is a quick and easy project and makes a fun gift.


                        Gramercy Mug Rug
The mug rug measures 9.5" by 9.5" (ruffle included).


Front:  Cut 16 - 2.5" squares
Back and Batting:  Cut 8.5" square

                     
1.  Assemble the top and press the seams flat with a hot iron.  Place the mug rug top on the batting and quilt the two layers together.  Trim the edges and square up the top if needed.


2.  Make the ruffle.  Cut two strips of fabric to equal the length of 64" with a 2.25" width.  Sew the strips together on both ends to make a circle.  Fold the strip in half and press with an iron.  Hand baste stitch around the raw edge with a 1/4" seam allowance.


3.  Pull the stitching tight to create the ruffle.  Tighten it enough to fit the mug rug and spread out the ruffles evenly.  Pin the ruffles to the mug rug top with the raw edges together and the folded edge facing in towards the center.  Pin around the edges and for the corners fold a little extra fabric to ensure square corners.  Machine baste stitch on top of your hand basting to hold the ruffle in place.


4.  Place the backing face down on the front and trim to fit.  Sew the layers together with a 3/8" seam allowance, leaving a 4" gap on one side (noted by the arrows below).  


5.  Trim the corners and turn inside out.  Press the layers with an iron and hand stitch the opening closed.
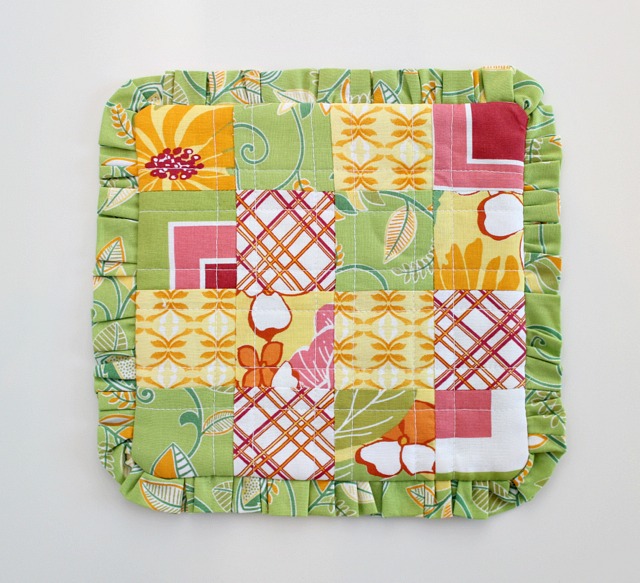
Gramercy Mug Rug


That's it! The ruffle really adds a nice extra touch, doesn't it? 

Thanks Candace!

For a chance to win a fat quarter bundle of Benartex or Kanvas fabric, simply sign up to follow this blog, either through Bloglovin' (or another blog reader service) or email (both options are in the right hand sidebar) and leave a comment letting us know you follow. In your comment, also tell us if you've ever made ruffles before. Leave a second comment and receive a second entry by following us on Facebook and letting us know. This giveaway is open through Friday, February 7 at 11:59 PM EST. 

Make sure you check out all the Mug Rug tutorials!
Day 1: Benartex Design Team featuring Bohemian Rhapsody
Day 2: Debby Kratovil from Debby Kratovil Quilts featuring Fossil Ferns
Day 3: Stitched Together Studios featuring Shaken or Stirred
Day 4: Benartex Design Team featuring Puppy Love and Smooches
Day 6: Julie from The Crafty Quilter featuring Sweet Tweet


Love It? Share It! Facebook Twitter Google Pinterest Email

Tuesday, October 1, 2013

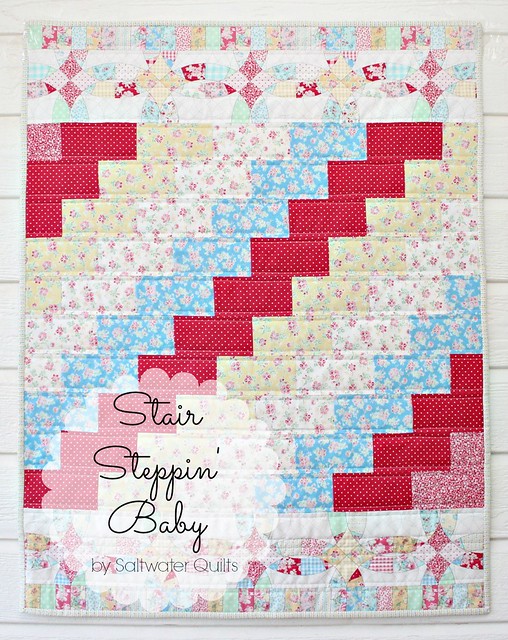
September Blog Hop Day 5: Stair Steppin' Baby Quilt


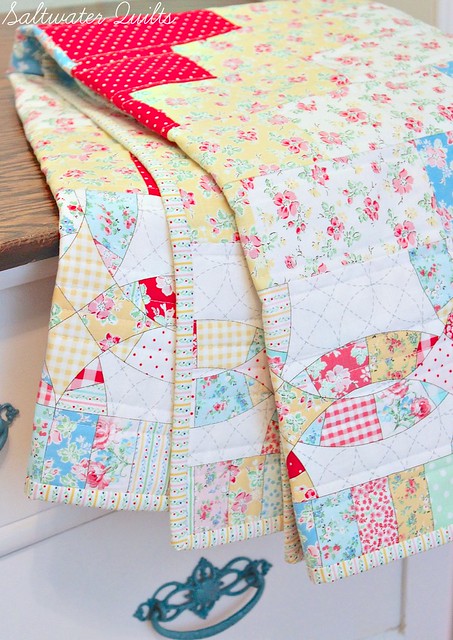
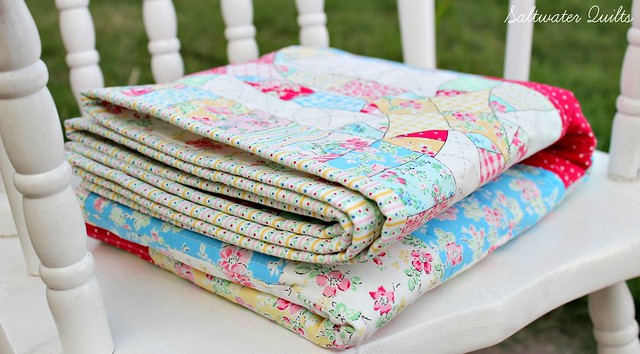
Welcome back! Today is the last day of our September blog hop (yep...on October 1!). We think you'll love this simple tutorial for a quick baby quilt by Candace from Saltwater Quilts. Candance used Michele D'Amore's Sweetie Pie collection--pretty prints to make a pretty quilt.

Hello, my name is Candace and I regularly blog at SaltwaterQuilts.com.  My grandmother taught me to hand quilt when I was 16 (which was quite some time ago) and I have been obsessed with quilting ever since.

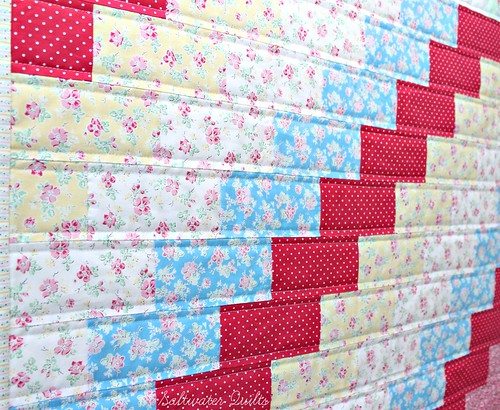
I am excited to share my latest tutorial "Stair Steppin' Baby Quilt" with you using the fabrics from the Sweetie Pie collection from Benartex. The collection is perfectly named because the fabrics are so sweet and lovely. Perfect for a baby quilt. This is a great project for a beginner quilter because there are no seams to line up. It is a quick and easy project and makes a great baby gift.


  IMG_5777a

IMG_5747

Quilt Measurements: 30" X 38"

Fabric Requirements:
1 yard of Sweetie Pie Multi
1 yard of a combination of 6 fabrics
1/3 yard of binding fabric


Cutting Measurements:
rectangle - 5.5" by 3"
square - 3" by 3"

binding - 4 strips of 42" by 2.25"

Cut:
Color A - 15 rectangles and 2 squares
Color B - 13 rectangles and 2 squares
Color C - 13 rectangles and 2 squares
Color D - 13 rectangles and 2 squares
Color E - 1 rectangle and 2 squares


An easy way to cut fabric for colors A, B, C, D is to cut two 3" strips across the length of the fabric (42").  Then stack the two strips.


Trim the selvedge edge, then cut three 5.5" sections.


Unfold the center of the rows, stack them and cut one more 5.5" section, 3" section and there will be a little left over (see arrow above).  This will give you 14 rectangles and 2 squares.  There will be one extra rectangle for colors B, C, and D.  For color A you will need to cut one more rectangle.


Sew the center section together by sewing each row and then sew the rows together as shown in the diagram above.  Once the center section is complete, trim the Sweetie Pie Multi to fit the center.

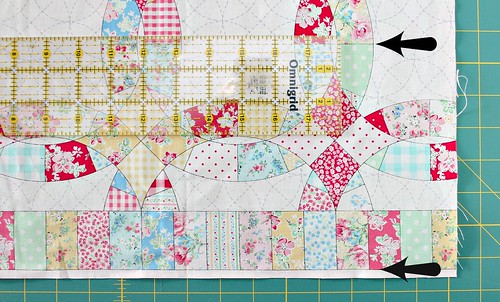
Trim 1/4" above the line marked by the top arrow in the picture below and 1/4" below the line marked by the bottom arrow.  Trim the width of this strip to match the width of the completed center section.  Cut both selvedge edges of the Sweetie Pie Multi fabric this way and sew to the top and bottom of the center section.  Press the quilt top with an iron, pressing all of the horizontal seams towards the bottom.


tutorial step 4

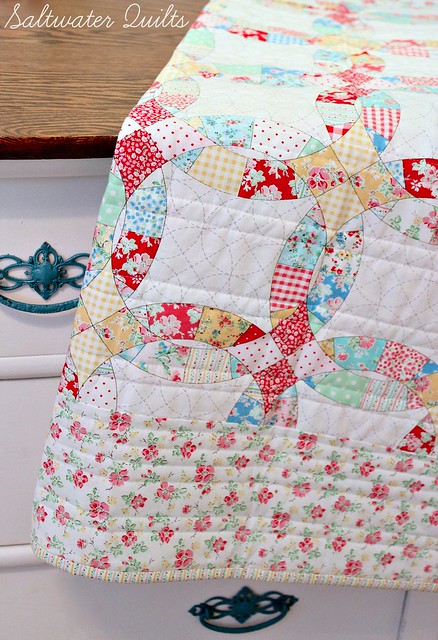
Use the extra Sweetie Pie Multi and other fabrics for the backing.

Sweetie Pie Quilt Back

Assemble the layers and quilt as your prefer.  Enjoy your lovely baby quilt!


Baby Quilt

Folded Baby Quilt

Thanks Candace! What a sweet quilt! Head over to Candace's blog to find out how you can enter to win a fat quarter bundle of Sweetie Pie.


Don't miss the other tutorials (and giveaways!) featured in our September blog hop:
Day 1: Urban Oasis Table Runner from Kristen of KD-Quilts

Day 2: QAYG Drawstring Backpack from the Benartex blog team

Love It? Share It! Facebook Twitter Google Pinterest Email