Friday, January 31, 2014

Mug Rug Blog Hop: Day 4

We're so glad you joined us for day four of the Mug Rug Blog Hop. Today we're getting a head start on Valentine's Day with some sweet heart-shaped mug rugs. Our design team used two Kanvas lines: Smooches by Greta Lynn and Puppy LoveDon't miss your chance at the end of the post to find out how to enter for a chance to win a fat quarter bundle of fabric!

Grab a mug and pull out those valentine chocolates! 
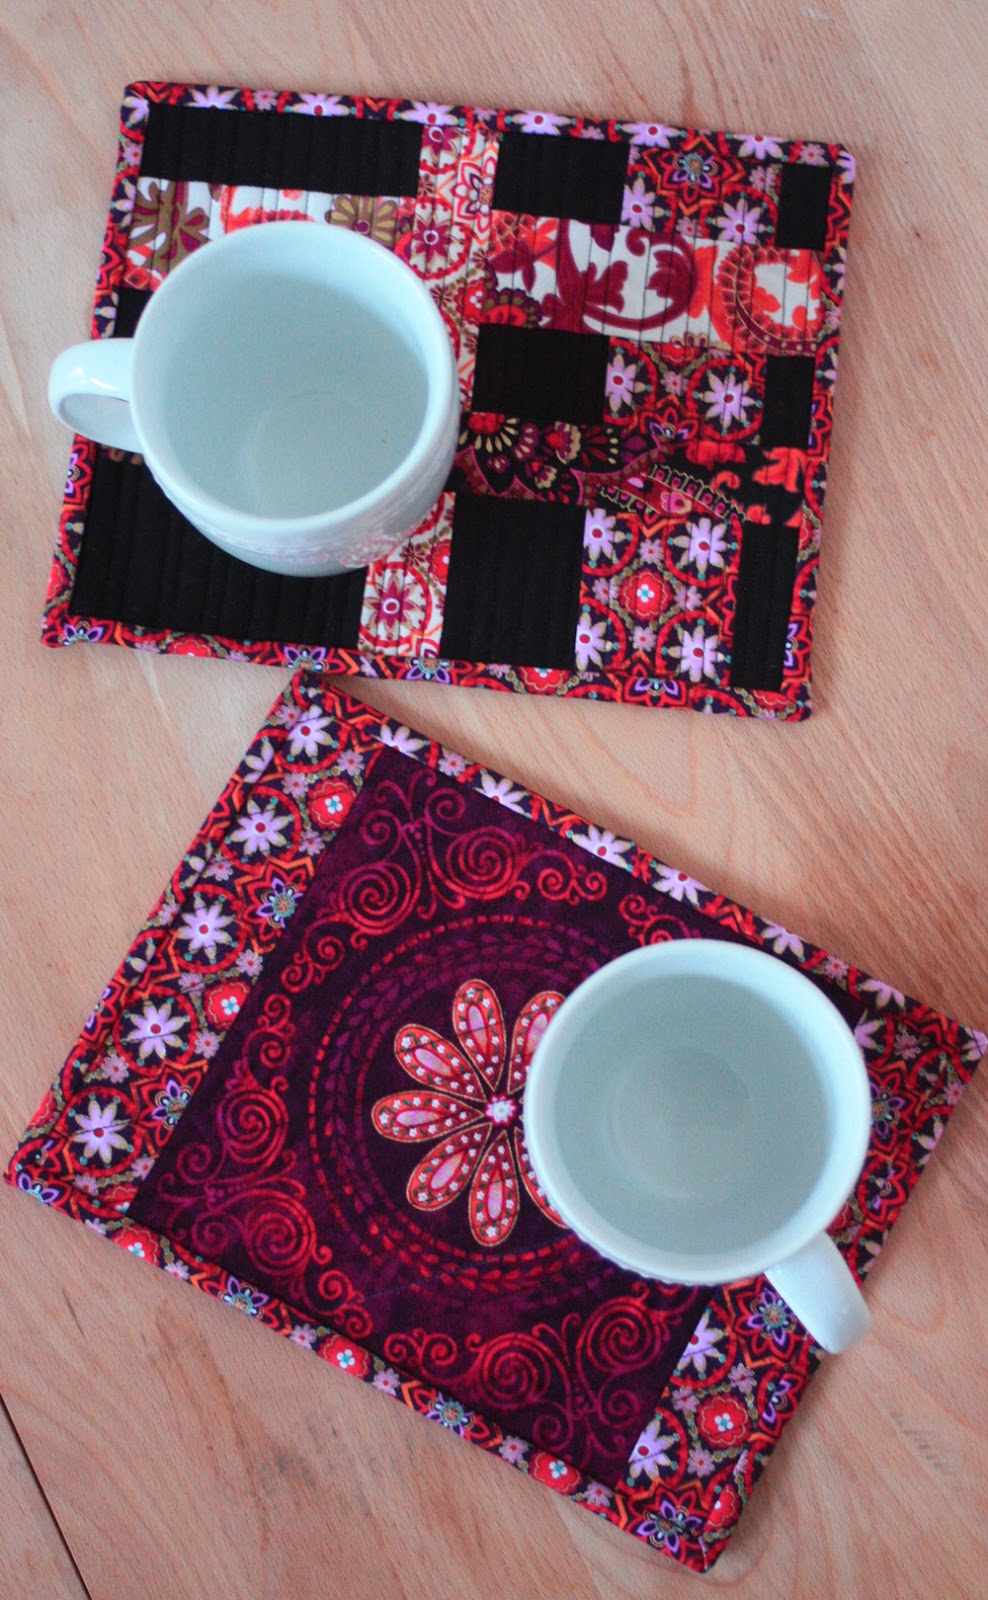
It's time to make a mug rug!


You'll Need:

  • 2-4 fat quarters of valentine prints (will make 2-4 mug rugs)
  • 9" square of batting per mug rug
  • Pinking shears


Smooches and Puppy Love: We <3 these prints!

Click here to download the pdf of the heart templates.

Make the Mug Rugs:

Print out the pdf with the heart templates and choose which size hearts you want to use. We used the largest, the 3rd largest, and the smallest on one mug rug, and the largest and 2nd largest on the second mug rug. Cut out the heart templates you want to use.

Cut two squares of fabric 2" larger than your largest heart. This will be the back and the background of the mug rug. Cut a batting square the same size. Layer the backing fabric, batting, and background fabric right side up.

Pin the cut out heart template on top.

Stitch around the outer edge of the paper heart. Use a walking foot for easier sewing. Remove the paper heart. 

Using a pinking shears, cut out 1/4" past the stitched line.

Choose your second heart fabric and heart template size, cut out a fabric square 2" larger than the template, and pin the template to the fabric. Cut out just past the template with the pinking shears. 

Position the medium-sized heart on the quilted large heart, center and pin. Stitch 1/4" inside the pinked edge to secure to the background. Repeat to make and sew on the small heart.

The back side:

Here's our second mug rug, made in the same manner.

Cute, aren't they?! Perfect for spreading a little love for Valentine's Day!


For a chance to win a fat quarter bundle of Benartex or Kanvas fabric, simply sign up to follow this blog, either through Bloglovin' (or another blog reader service) or email (both options are in the right hand sidebar) and leave a comment letting us know you follow. In your comment, also tell us your favorite thing about Valentine's Day. Leave a second comment and receive a second entry by following us on Facebook and letting us know. This giveaway is open through Friday, February 7 at 11:59 PM EST. 

Make sure you check out all the Mug Rug tutorials!
Day 1: Benartex Design Team featuring Bohemian Rhapsody
Day 2: Debby Kratovil from Debby Kratovil Quilts featuring Fossil Ferns
Day 3: Stitched Together Studios featuring Shaken or Stirred
Day 5: Candace from Saltwater Quilts featuring Gramercy
Day 6: Julie from The Crafty Quilter featuring Sweet Tweet
Love It? Share It! Facebook Twitter Google Pinterest Email

Thursday, January 30, 2014

Mug Rug Blog Hop: Day 3

Welcome back for the third day of our Mug Rug Blog Hop! 
We hope you enjoy the tutorial below, part of a Hostess Gift Set designed by Stitched Together Studios using the Shaken or Stirred fabric collection. Make sure you read to the end of the post to find out how to enter for a chance to win a fat quarter bundle of fabric!


The "Mad Men"-inspired prints from Maria Kalinowski's Shaken or Stirred collection from Kanvas were just begging to be made into hostess accessories!
You can uses these cool mug rug coasters for mugs, of course, or upgrade to a beverage that coordinates with the fabric theme. :)


You'll Need:
  • 1/4 yard each 4 prints (tossed martini glasses on red and black, and olives on black and green)
  • Four 6-1/2" squares batting


Cutting:
From each print, cut six 6-1/2" squares.

Think this mug rug looks like a simple four-patch? Think again! The design is still simple, but it features a neat folding trick that you'll want to use again and again.

Download and print out the rest of the directions here. You'll also find free patterns to make trivets (which can also double as larger mug rugs!), wine gift bags, and an apron. Perfect timing with the Super Bowl right around the corner!

Find the free patterns for all of these sewing projects here.

For a chance to win a fat quarter bundle of Benartex or Kanvas fabric, simply sign up to follow this blog, either through Bloglovin' (or another blog reader service) or email (both options are in the right hand sidebar) and leave a comment letting us know you follow. In your comment, also tell us if you've ever sewn an apron. Leave a second comment and receive a second entry by following us on Facebook and letting us know. This giveaway is open through Thursday, February 6 at 11:59 PM EST. 

Make sure you check out all the Mug Rug tutorials!
Day 1: Benartex Design Team featuring Bohemian Rhapsody
Day 2: Debby Kratovil from Debby Kratovil Quilts featuring Fossil Ferns
Day 4: Benartex Design Team featuring Puppy Love and Smooches
Day 5: Candace from Saltwater Quilts featuring Gramercy
Day 6: Julie from The Crafty Quilter featuring Sweet Tweet


Love It? Share It! Facebook Twitter Google Pinterest Email

Wednesday, January 29, 2014

Mug Rug Blog Hop: Day 2

Welcome to Day 2 of our Mug Rug Blog Hop! Today Debby Kratovil from Debby Kratovil Quilts is sharing a mug rug made using the beautiful Fossil Fern prints and the Royal Star block. 

We hope you enjoy Debby's tutorial! Make sure to scroll to the very bottom of the post to find out how to enter for a chance to win a fat quarter bundle of fabric!


Here's Debby!

Just like a box of candy spilled on my counter top - yum, yum!
Hi, Debby here! This is my day to reveal a mug rug for the Sew in Love with Fabric blog hop. I knew I wanted to work with the Fossil Fern Collection by Benartex. I've been playing with those fabrics for almost 15 years. Yes, they still produce these fabrics - never before has a fabric line stayed popular for so long.

I opened my box of fat quarters (sent to me several years ago by the Marketing Director) and selected a few colors . . .
Box of fat quarters of Fossil  Ferns
And I revisited one of my all time favorite patterns from one of my all time favorite quilts - The Royal Star. Yes, I will be sharing this pattern - make one block, make 16.
Royal Star Quilt
But, can I show you first the children's mug rugs I made for my grandsons last summer with some Fossil Ferns and some novelty prints from Baby Safari (also Benartex) . . .
Twisted Hexagon blocks, no binding, just pinked edges

Twisted Hexagon blocks with striped binding
Now for the Royal Star block, paper pieced and then quilted.

STEPS FOR MAKING A ROYAL STAR BLOCK:

1. Prepare your foundations. You will need four of the star corners. Pre-cut the fabric shapes for each of construction (all sizes for these are in the FREE PATTERN)
Cut out parts according to pattern
 2. Use the blue square in Position #1 on the pattern. Place it on the UNWRITTEN side of the pattern with the wrong side of fabric touching this unwritten side.
Notice that the fabric extends away from all lines around Patch #1. Pin in place
3. Without turning pattern over, fold back along line between Patch 1 and Patch 2. Trim away excess blue fabric, leaving 1/4" seam allowance.

 Both sides trimmed
Both sides of Patch #1 trimmed, leaving 1/4" seam allowance from side lines.


(Dark) postcard used; fold along line. Add A Quarter ruler gives perfect 1/4" seam allowance.

4. Pin rectangle (orange) for Patch #2 to cut edge of Patch #1, right sides together. Pin

Fabric for Patch #2 pinned, aligned along newly cut edge of Patch #1.

5. Now it's time to turn pattern over and sew on the line between Patch #1 and Patch #2. Sew all the way from the outside edge of the pattern, THROUGH both outside seam allowances. Finger press orange patch away from seam (see below)

6. Repeat for Patch #3. Pin and sew on the side with the lines. Turn pattern over and this is what you see . . .
Patch #3 added. Notice I have sewn from edge of fabric to other edge of fabric.
7. Press patches as shown . . .

Patches pressed, awaiting trimming
8. Time to trim again before you add the last two (blue) patches. ALL trimming is done on the printed side. Fold the pattern back on the line, use an Add-a-Quarter ruler for the 1/4" seam allowance.

Patches 2 and 3 trimmed
 9. Add Patches 4 and 5, one at a time; press  . . .
Star point unit - what a mess, huh?
10. Now it's time to trim excess fabric using the seam allowance markings on the pattern. Turn this over and . . .

If you look closely, you can see how I sewed off the paper with every seam. This ensures that I sewed in the seam allowances, just as you do with traditional piecing. Those seams criss-cross in the seam allowances.
Can you see the excess fabric that extends away from the outside of the paper?
11. The outside edges of my paper are where I'm going to trim. It is 1/4" away from the outside triangle line of the unit.
Wow! It sure looks good when it gets cleaned up.
Can we see the front? Glad you asked . . .
Make 4 of these for each block
 Now it's time to add the Nine Patch (made with 2-1/2" squares) with the Star Points.

Royal Star block parts
Now for the full block sewn:
Isn't she pretty?
I was just using scraps, so I didn't have enough to make a bigger mug rug. I did have one I made a while ago that I'll show you. But first, let's see another color combination . . .

Royal Star block with black background
And how does it look with some of the sashings like I used in my full quilt? When the sashing fabric is the same color as the block background, the star seems to float on the black

Triple sashing and 9 patch blocks
And here's my mug rug from a previous life . . .
Block size: 8-1/2". With 1" sashings and squares: 14-1/2" x 14-1/2"

Now for the link to the pattern: Royal Star Quilt (16 blocks for a quilt or just make one block)
Thanks Debby!

For a chance to win a fat quarter bundle of Benartex or Kanvas fabric, simply sign up to follow this blog, either through Bloglovin' (or another blog reader service) or email (both options are in the right hand sidebar) and leave a comment letting us know you follow. In your comment, also tell us your favorite month for quilting. Leave a second comment and receive a second entry by following us on Facebook and letting us know. This giveaway is open through Wednesday, February 5 at 11:59 PM EST. 

Make sure you check out all the Mug Rug tutorials!
Day 1: Benartex Design Team featuring Bohemian Rhapsody
Day 3: Stitched Together Studios featuring Shaken or Stirred
Day 4: Benartex Design Team featuring Puppy Love and Smooches
Day 5: Candace from Saltwater Quilts featuring Gramercy
Day 6: Julie from The Crafty Quilter featuring Sweet Tweet
Love It? Share It! Facebook Twitter Google Pinterest Email

Tuesday, January 28, 2014

Mug Rug Blog Hop: Day 1

Welcome to the first day of our Mug Rug Blog Hop! 
We hope you enjoy the tutorial below, created by the Benartex design team, and then don't forget to scroll to the very bottom of the post to find out how to enter for a chance to win a fat quarter bundle of fabric!


Hello! We're excited to be kicking off the Mug Rug Blog Hop with the sumptuous, saturated prints from Greta Lynn's Bohemian Rhapsody collection for Kanvas. These fabrics sparkle, and even better, they do all the work in the mug rugs we designed. Who needs complex piecing when you can let a focal print be the star of the show/mug rug? 


Here's a peek at the Bohemian Rhapsody fabrics:

You guessed it--that medallion border print on the right had to take center stage. The hardest part? Deciding whether to use the block motif or the scalloped border stripe. Our solution? Make one mug rug using each. 

Materials (for both mug rugs):

1/3 yard medallion border print 
1/8 yard each three different coordinating prints
1/3 yard dark mosaic print
1/4 yard medium floral print
1/4 yard black solid
Two 10" x 12" batting pieces

Mug Rug #1

Front
Back

Create a woven look with this no-measure cut-and-piece technique. The black background makes the prints shine, and the reverse side, featuring a fussy-cut section of the border stripe, is equally appealing!

Cutting:

Medallion border print: 7-1/2" x 10" lengthwise piece, centering the border stripe
Three coordinating prints: 15" long strip of each, with widths ranging from 1-1/2" to 2"
Dark mosaic print: 15" long strip with width between 1-1/2" and 2"; one 2-1/4" x 42" strip for binding
Black solid: 8" x 10" piece

Make the Mug Rug: 

Make a straight cut vertically through the 8" x 10" black piece, wherever you like. (Avoid making any cuts within 1" of the outer edges; this will give you more options when it's time to square up the finished piece.)


Choose a print strip and sew between the two black pieces. Tip: When sewing narrower strips, stitch both sides of the strip to the intended fabric pieces before pressing. It will help keep your narrow strip straight.

Make a horizontal straight cut through the black piece. Sew another strip between the two pieces. As you add the second side to a strip from now on, pin in place and doublecheck to make sure the strip you are intersecting will line up with its other half before sewing. 

See how the top and bottom sections of the vertical strip line up around the second added strip? 
Make another vertical cut.

Add a third strip. 

Make another horizontal cut and add the fourth strip. 


Square up pieced top as desired--at this point, ours measured about 8" x 10". You'll need to square up again after quilting, so leave some wiggle room. 

Layer the backing fabric (the border stripe!) right side down, batting, and pieced top right side up. Pin baste and machine quilt as desired. We highly recommend using a walking foot for any straight line quilting. Here's the front, quilted but not trimmed:


And the back:

Trim up after quilting (ours measures 7-1/2" x 9-1/2") and use the 2-1/4" x 42" dark mosaic strip to bind. 

Mug Rug #2:


This mug rug is even easier! We just couldn't resist using the floral medallion motif from the border print, and the floral on the opposite side was too pretty to cut up!

Cutting:
Medallion border print: Fussy-cut one motif into a 7-1/2" square
Dark mosaic print: two 2" x 7-1/2" strips; one 2-1/4" x 42" strip for binding
Medium floral print: 8" x 11" piece

Make the Mug Rug:
Sew 2" x 7-1/2" dark mosaic print strips to opposite sides of the 7-1/2" medallion square. 

Layer the backing fabric right side down, batting, and pieced top right side up. Pin baste and machine quilt as desired. 

Trim to square up (ours measures 7-1/4" x 9-3/4") and use the 2-1/4" x 42" dark mosaic strip to bind. 


You're done! Gotta love these Bohemian Rhapsody prints--both of these mug rugs are as appealing on the back as on the front!
These mugs are just waiting to be filled with something...hot chocolate, perhaps?

For a chance to win a fat quarter bundle of Benartex or Kanvas fabric, simply sign up to follow this blog, either through Bloglovin' (or another blog reader service) or email (both options are in the right hand sidebar) and leave a comment letting us know you follow. In your comment, also tell us what your favorite cold weather beverage is. Leave a second comment and receive a second entry by following us on Facebook and letting us know. This giveaway is open through Tuesday, February 4 at 11:59 EST. 

Make sure you check out all the Mug Rug tutorials!
Day 2: Debby Kratovil from Debby Kratovil Quilts featuring Fossil Ferns
Day 3: Stitched Together Studios featuring Shaken or Stirred
Day 4: Benartex Design Team featuring Puppy Love and Smooches
Day 5: Candace from Saltwater Quilts featuring Gramercy
Day 6: Julie from The Crafty Quilter featuring Sweet Tweet


Love It? Share It! Facebook Twitter Google Pinterest Email