Happy Friday! This blog hop is all about novelty prints from Kanvas--fun designs that make you smile--and our talented designing friends are offering up great ideas for using them! Be sure to stop back Monday for one last novelty print tutorial, and see the links at the bottom of this post in case you missed one of the earlier tutorials.
Today Wendy from Ivory Spring is here, using the whimsical Leap Frog prints to make a pillow storage project. This handy design will help reduce random clutter in the car; the bonus is that it's made from such cute fabrics that it's useful and fun to look at! Enjoy the tutorial, and then scroll to the bottom of the post to see how you can win a fat quarter bundle of the Leap Frog prints.
Hello Benartex fans, it's good to see you here again! I am Wendy from Ivory Spring, and it is fun to be able to share a quick project with you again.
Today, I am sharing with you a pillow storage project that is easily customized for your needs. You all have seen pocket storage system like this to store things on the road or just things in general. They work great!
However I find that sometimes it is hard for a child to transfer the storage system from one place to another without spilling out the contents (like markers etc) with the strictly pocket system. I know my daughter has done her share of spilling! So, I came up with the idea of using the pillow form to sort of provide a "snug" fit for the stuff she is storing in the pockets.
***
This project is easily customized for your own needs. All you need is fabric and a piece of hanging ribbon to length. For this tutorial, I am using a 12" x 16" pillow form. SO... from these fabrics
You will need to cut:
3 (12 1/2" x 16 1/2") rectangles (focal print)
1 (6 1/2" x 16 1/2") rectangle (blue fly print)
4 (4 1/2" x 6 1/2") rectangles (blue fly, orange fly, light lily pad, dark lily pad prints)
***
Let's get sewing, shall we?
1. Sew the 4 (4 1/2" x 6 1/2") rectangles into a row. Add 1 (6 1/2" x 16 1/2") blue fly rectangle to the top of pieced row.
2. Press seam open. And matching wrong sides together, fold and press so that on one side, you have the pieced row, and the blue fly rectangle.
3. Place the unit made in step 2 on 1 (12 1/2" x 16 1/2"), right sides together, with the blue fly rectangle facing downward. Pin to hold the fabric layers in place.
4. Sew along the seams of the pieced rows to make pockets. You may sew along all the seams to make 4 pockets. I only made 3 pockets for mine because I needed 1 larger pocket.
5. You now have the completed pillow front assembly.
6. Tack hanging ribbon in place on pillow front.
7. Completing pillow. You may use method of choice to complete your pillowcase.
a. Place pillow top wrong side down. Then lay the pillow backing rectangles (two 12 1/2" x 16 1/2" rectangles) on pillow top, right sides together. Adjust the pillow backing rectangles accordingly, and trim off any excess from the 12" x 16” area that is not covering the pillow top.
b. Pin and stitch the pieces together.
c. Trim around the corners. Finish by zig-zagging the seam allowance to reduce the bulk of all the pieces stitched together.
d. Turn the pillowcase right side out. Press and insert pillow form.
8. I used mine as a stitching pillow/pseudo-purse for my daughter as she likes to have a pillow to rest her little hands while she stitches. The big pocket holds her hooped piece. The rest holds her notions etc. Even turned upside down, the pillow form holds the pillow contents nicely... we no longer have spillage problem!
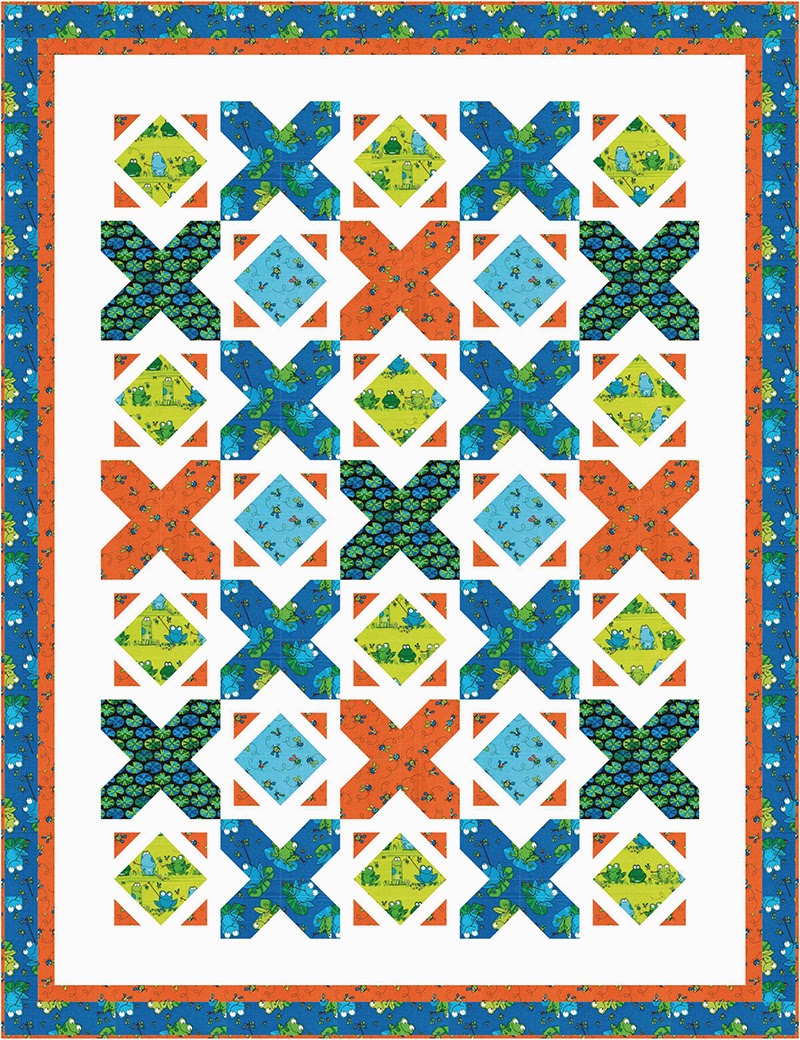
I hope you have enjoyed seeing how the Leap Frog fabrics are used in this tutorial. Have you seen my Hoppity Hop quilt featured in Fons & Porter's Easy Quilts (Winter 2014), as well as the free-to-use downloadable design In The Pond?
 |
| "Hoppity Hop" by Wendy Sheppard; featured in Easy Quilts winter 2014 |
Thanks Wendy!
Head over to Wendy's blog to learn more about her work and these designs featuring the Leap Frog fabrics. For a chance to win a fat quarter bundle of Leap Frog, sign up to follow our blog either by email or through a blog reader (see both options in the right hand sidebar) or follow us on Facebook. Leave a comment letting us know that you follow, and let us know--do you sew in the car? The giveaway is open through Wednesday, January 28 at 11:59 pm EST.
Don't miss our other novelty print tutorials!
Day 1: Reverse applique pillow by Lisa from Stubbornly Crafty
Day 2: Boxy make-up bags by Jennie from Clover & Violet
Day 3: Drawstring camera bag by the Benartex blog design team
Day 5: Children's vests by Debby from Debby Kratovil Quilts