Showing posts with label mug rug blog hop. Show all posts

Friday, October 21, 2016

Mug Rug Blog Hop: Day 4

This week we're hosting the Mug Rug Blog Hop!
In celebration of fall, a season filled with mugs of apple cider, tea, and even hot cocoa, we have four different bloggers sharing a mug rug design they've created with one of our new fabric lines. 

BYOM (bring your own mug), but we'll provide the mug rug inspiration, as well as fabric giveaways! 


Today Alison from Little Bunny Quilts is sharing a cute mug rug made using Cherry Guidry's Kitchen Love collection. If you haven't seen these prints, you'll love them! Alison drew inspiration from the fabric and her kitchen, even using a common utensil as her applique template. Have fun with this mug rug, and then head over to Alison's blog to enter for a chance to win a bundle of Kitchen Love!


Hello! I'm Alison from Little Bunny Quilts, and I am happy to be back here at Sew In Love With Fabric sharing a quick and easy tutorial for a mug rug today!


I decided to use the Kitchen Love line, because I love to cook and bake. The prints are just darling in this collection! And as a little twist, this mug rug could also be used as a washable spoon rest!

You will need:

Some sort of fusible web -- I use Wonder Under
Fat quarters of your fabrics -- I used four different fabrics


Using your favorite kitchen utensil, lay on your fusible web and trace. I used a wooden spoon.
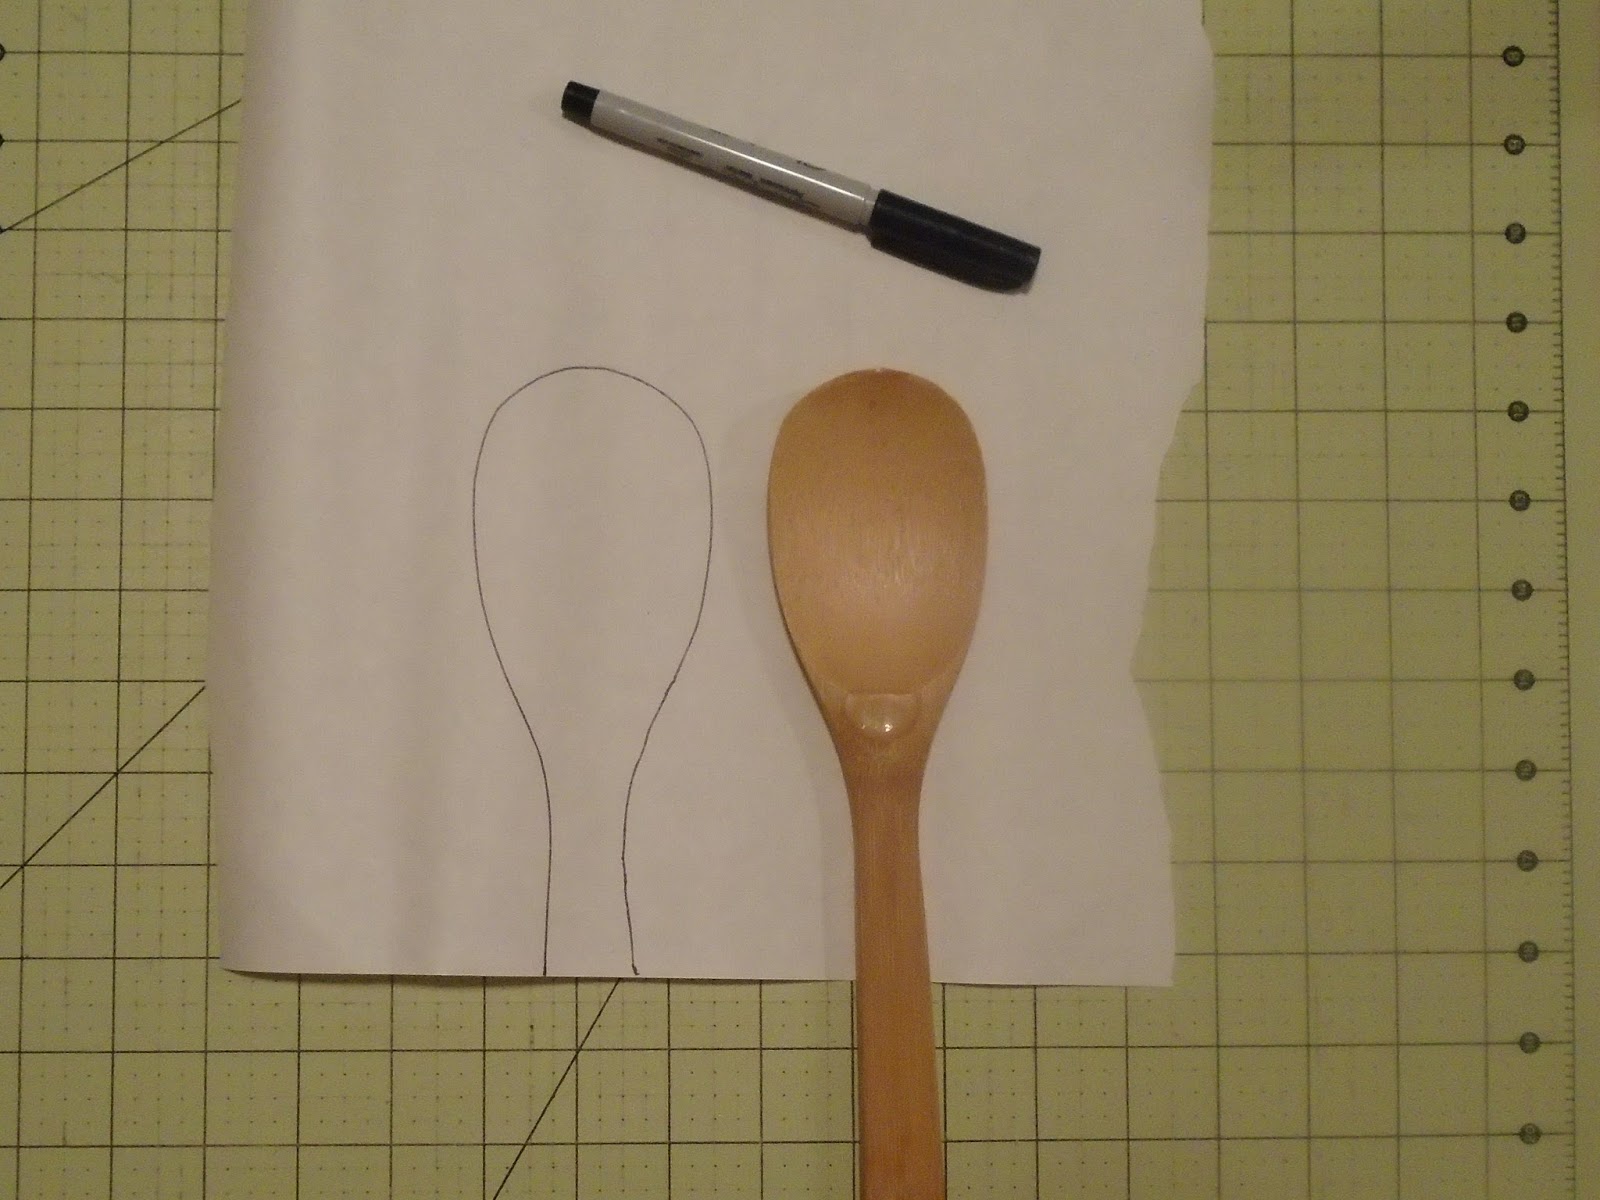

Iron your fusible web template to your chosen fabric and trim to the correct shape.

Cut a rectangle for the front 4" x 8", cut a backing rectangle 5" x 9".


Remove the backing paper from the fusible web and iron onto your 4" x 8" rectangle.
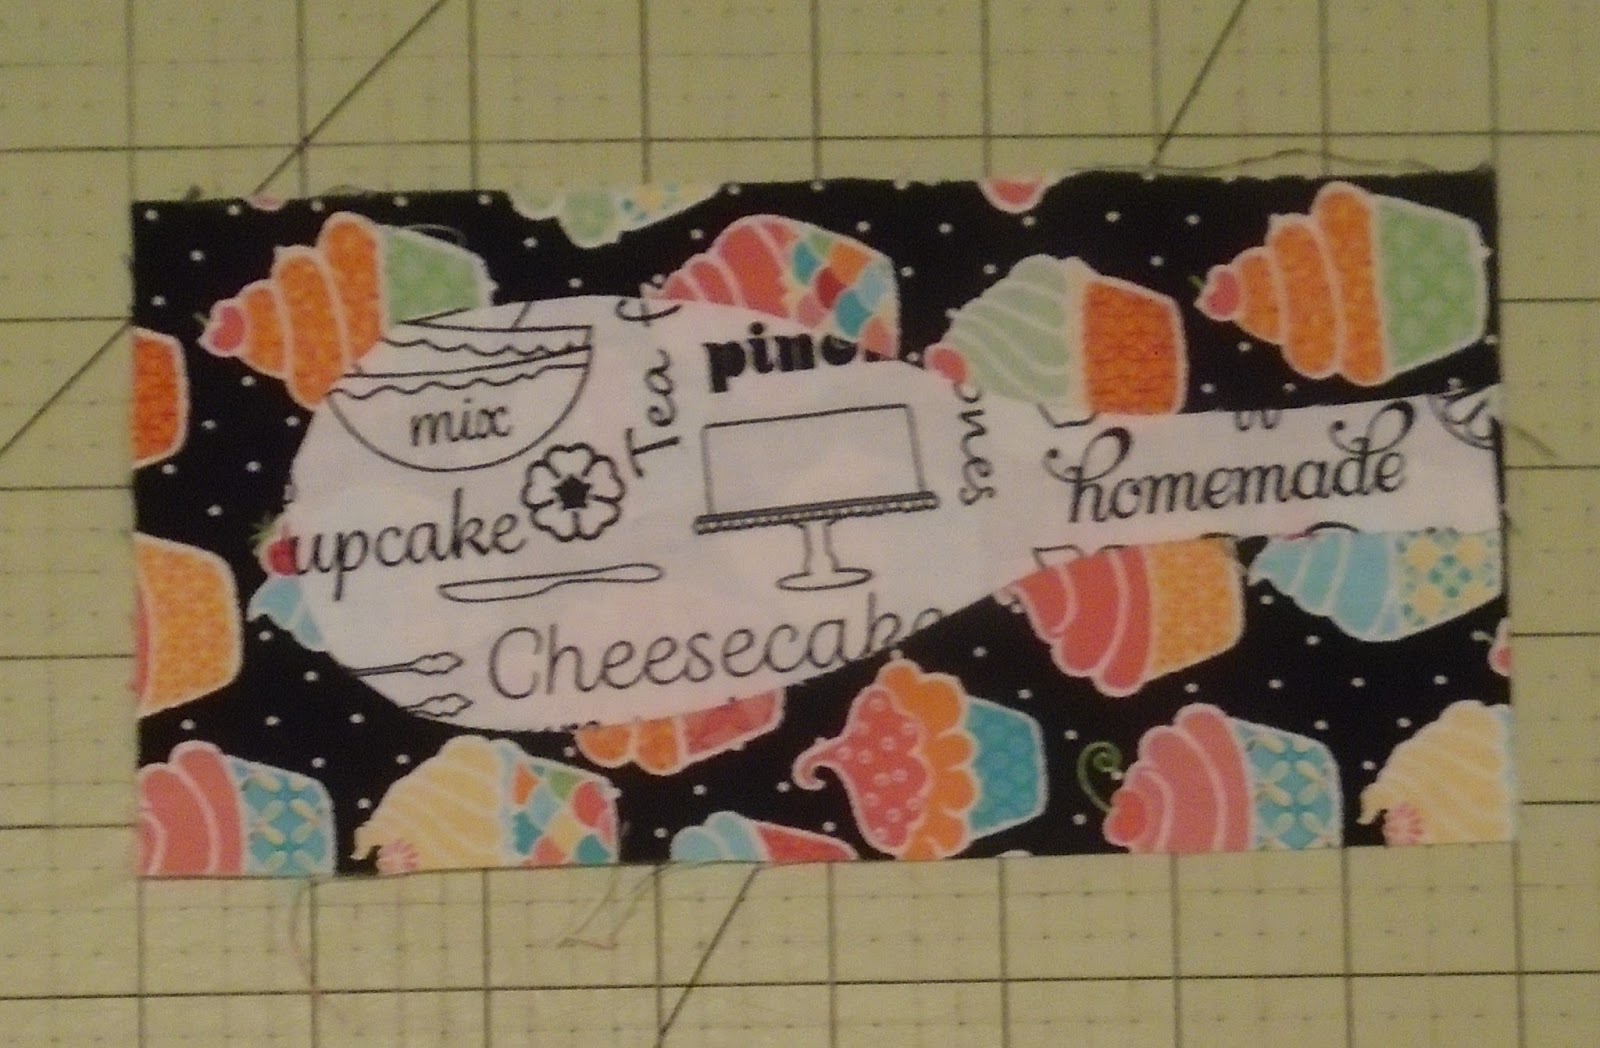

Use a satin stitch to sew around the edges of your utensil. I used orange!
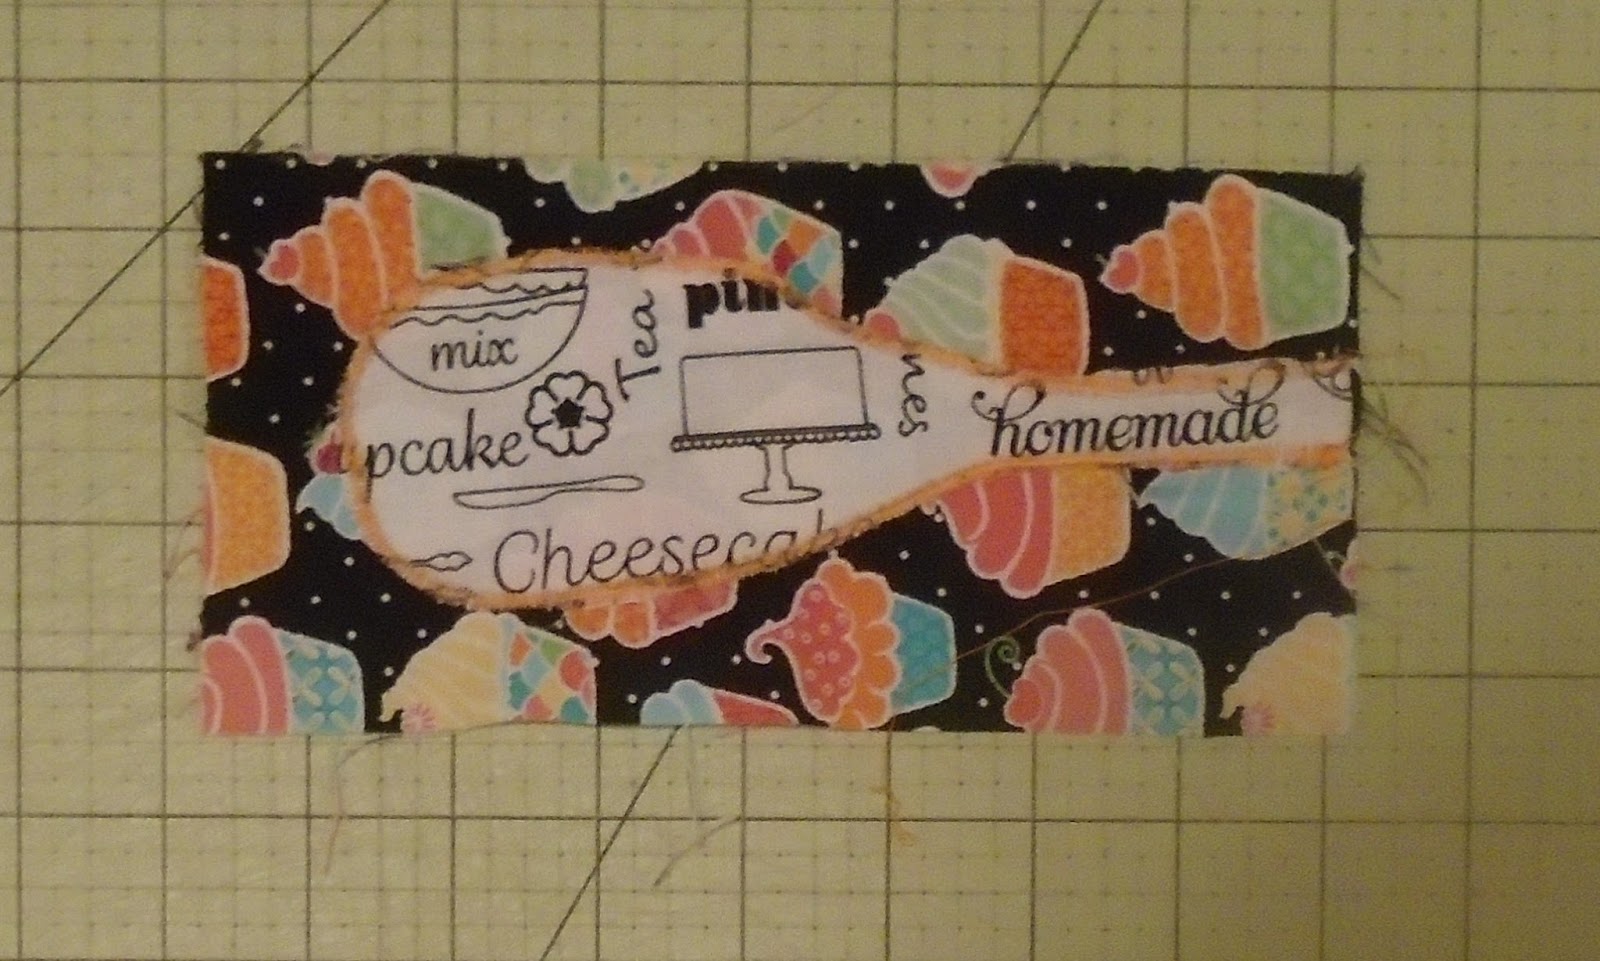

Layer your backing rectangle, a batting scrap (mine was 4.5" x 8.5") and quilt as desired. I did diagonal lines across my piece.
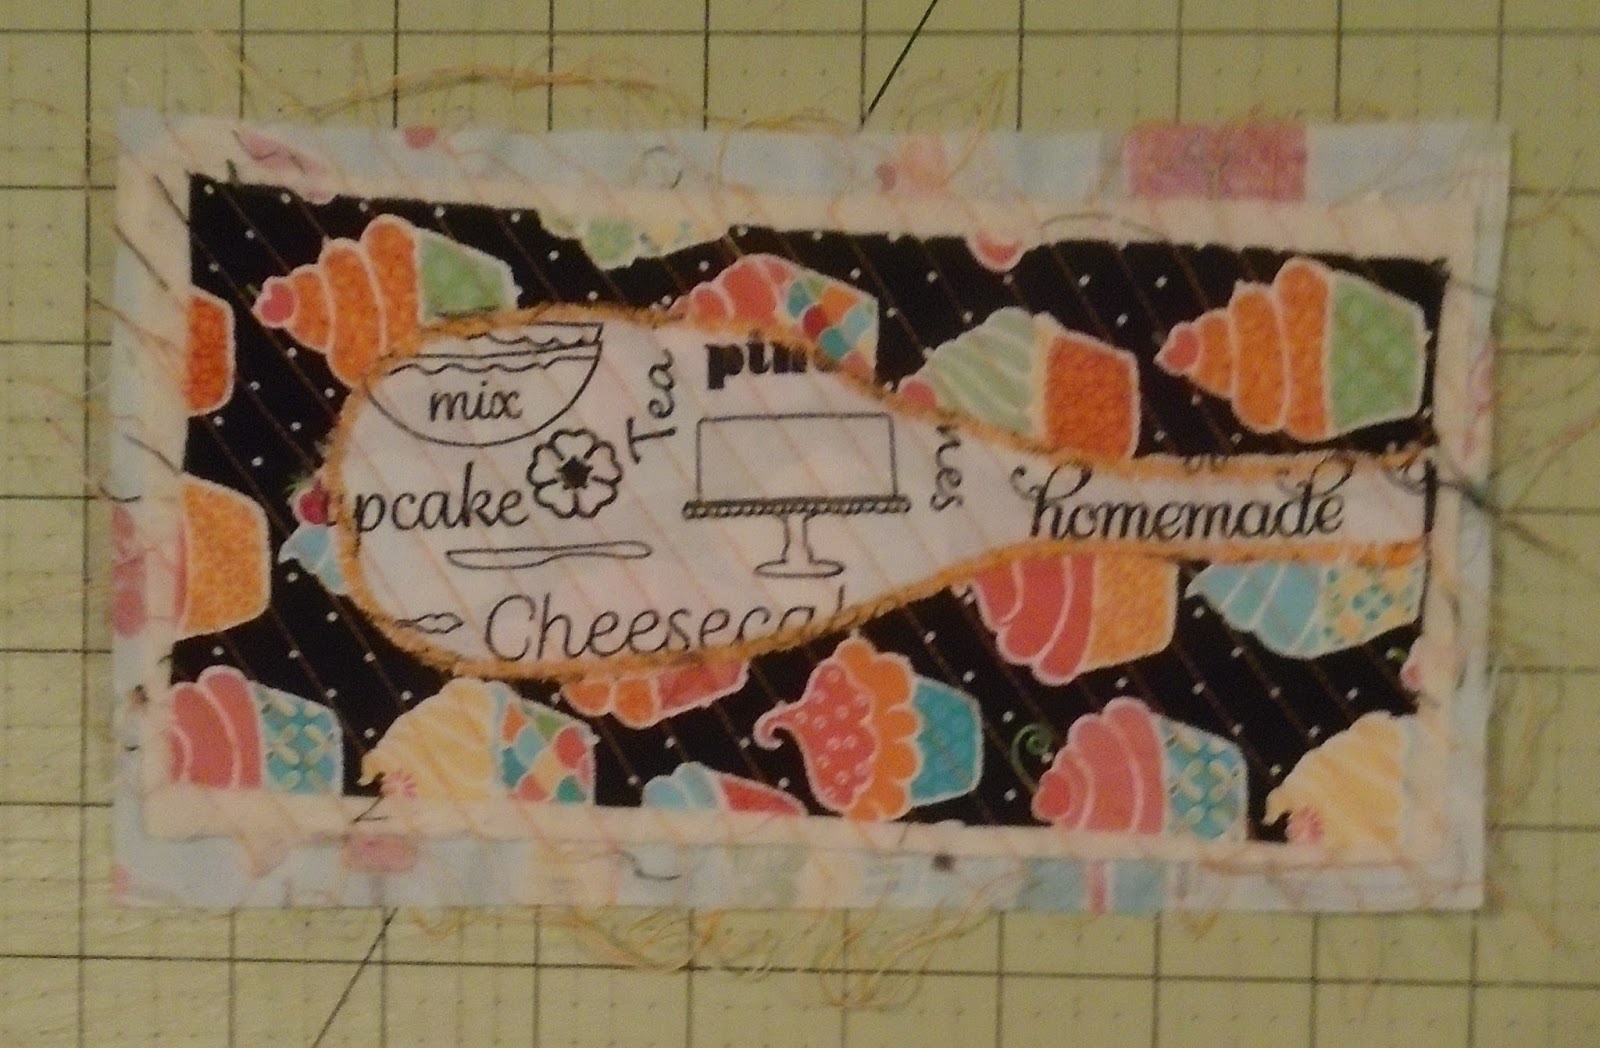

Trim your mug rug and bind as desired. I cut my binding strips at 2.25" wide.


Enjoy your new spoon rest/mug rug!


Perfect with a muffin and a mug too! 

Head over to Alison's blog to be entered for a chance to win a fat quarter bundle of Kitchen Love. 

Make sure to catch all of the tutorials in our Mug Rug Blog Hop!
Tuesday: Chris from made by ChrissieD featuring Sewing Room
Wednesday: Debby from Debby Kratovil Quilts featuring Wings
Friday: Alison from Little Bunny Quilts featuring Kitchen Love
Love It? Share It! Facebook Twitter Google Pinterest Email

Thursday, October 20, 2016

Mug Rug Blog Hop: Day 3

This week we're hosting the Mug Rug Blog Hop!
In celebration of fall, a season filled with mugs of apple cider, tea, and even hot cocoa, we have four different bloggers sharing a mug rug design they've created with one of our new fabric lines. 

BYOM (bring your own mug), but we'll provide the mug rug inspiration, as well as fabric giveaways! 


Today we're featuring the intriguing Nature's Pearl collection from Kanvas. These fabrics have pearlescent accents that create an almost luminous effect. They're gorgeous, and the prints are so fun to work with--dotted spirals, dandelion puffs, leaves and a wavy stripe. We're showing two different methods (fusible and topstitch) to make a similar looking mug rug that plays off of the soft, wavy designs that appear in the fabric. Enjoy the tutorial and at the bottom find out how you can enter to win a fat quarter bundle of Nature's Pearl. 

A look at the fabrics we're working with--a nice variety of values and prints


You'll need: 
2-5 fat quarters
12" square of black solid (for the fusible technique only)
Two 2-1/4" x 42" strips for binding
12" square of backing fabric
12" square of batting
Fusible web (for the fusible technique only)

Making Mug Rug #1 (fusible technique)
1. From each fat quarter, cut a 6" x 12" piece. Cut an equal number of 6" x 12" fusible web pieces. Apply the fusible web to the back side of each piece. 

2. Trim the black square to measure approximately 9-1/2" x 11-1/2" (our finished mug rug is 8-1/2" x 10-1/2"; if you'd like yours to be smaller, start with a smaller black piece that is approximately 1" larger than your desired finished size).

3. With your rotary cutter, freehand cut gentle curved strips from the fused fabric pieces. Try to vary the shape of the curves and the width of the strips. You'll want between 8-12 strips total. Cut one strip with a straight edge to position at the bottom of the mug rug. 

4. Lay the first strip on the black background. 


5. Begin adding additional strips, experimenting with placement. Don't fuse anything in place yet. 

6. Notice how we let the black background show through in places. 

7. When you are satisfied with your strip placement, fuse the strips in place. 

8. Layer the fused top, batting, and backing piece. Quilt as desired (we free motion quilted wavy lines). Try to stitch close to each raw edge to help secure. Trim to desired finished size.

9. Use the binding strips to find the mug rug. Enjoy!

Making Mug Rug #2: (topstitch technique)
1. Choose a fabric for the background and cut a 12" square. Cut 4" x 12" strips from the remaining fabrics. 
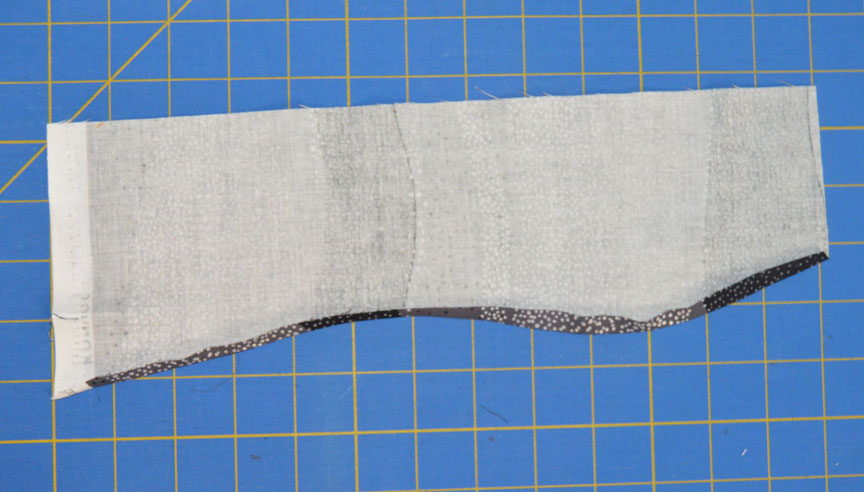
2. Layer a 6" x 12" strip under the bottom edge of the background fabric so the two overlap slightly. With your rotary cutter, freehand cut a gentle curve. Remove the two scrap pieces. 

3. Turn one of the cut pieces over and press the curved edge 1/4" to the wrong side. 

4. Pin in place on the background fabric, just above the cut curved line. Topstitch to secure. 

 5. In the same way, lay another strip on the background fabric, leaving a gap so the background shows through. Cut a wavy line, remove the scraps, and then press and stitch the new strip in place. 

6. Continue adding pieces in the same manner until you are satisfied with how it looks. 

7. Layer with backing and batting and quilt as desired. We quilted in wavy lines again. Trim to desired finished size. 

8. Bind and enjoy!

Both of these techniques are fun and easy and create a similar looking result. We made the first mug rug using a greater variety of fabrics so it has a scrappier appearance. For the second mug rug, we used only three fabrics. 

To be entered for a chance to win a fat quarter bundle of Nature's Pearl, leave a comment below telling us if you've ever sewn with curves before. Contest ends Sunday, October 23rd at 11:59 pm EST. 


Make sure to catch all of the tutorials in our Mug Rug Blog Hop!
Tuesday: Chris from made by ChrissieD featuring Sewing Room
Wednesday: Debby from Debby Kratovil Quilts featuring Wings
Friday: Alison from Little Bunny Quilts featuring Kitchen Love
Love It? Share It! Facebook Twitter Google Pinterest Email

Wednesday, October 19, 2016

Mug Rug Blog Hop: Day 2

This week we're hosting the Mug Rug Blog Hop!
In celebration of fall, a season filled with mugs of apple cider, tea, and even hot cocoa, we have four different bloggers sharing a mug rug design they've created with one of our new fabric lines. 
BYOM (bring your own mug), but we'll provide the mug rug inspiration, as well as fabric giveaways! 

Day 2 features Debby of Debby Kratovil Quilts with the Wings collection for Contempo. Debby works with one of her favorite shapes, the hexagon, to make a sweet mug rug with a fussy-cut bird silhouette. 

Here's Debby:
The colors in this Wings Collection by Jennifer Young really captured my attention. The deep aqua with the browns and taupes are a perfect complement to the sweet birds in the main print. What do you think? I was given 5 fat quarters and then it was up to me to create a mug rug for this blog hop.
Wings Collection by Jennifer Young
I was reminded of a free pattern by Pam Rocco at the Quilter's Newsletter web site for a coffee mug quilt. But, it seemed quite GIANT at a staggering 16". Way too much fabric for a mug rug. I scratched that idea (for these fabrics) and put my thinking cap on.

16" free coffee mug block by Pam Rocco
I was now nervous because I had used a good bit of that gorgeous aqua print. Did I have enough to carry on? Of course! I turned to my trusty pattern, the Twisted Hexagon. I would fussy cut the bird print for the center. That meant I had to make a freezer paper template so I could center the motif before cutting. I did just that.

You can see my technique for cutting a whole hexagon with a standard 60 degree triangle HERE, which was a Technique Tuesday blog post on Sew in Love with Fabric. I was cutting 6-1/2" hexagons using the Head of the Class Collection.


6-1/2" (height) freezer paper hexagon
Then I selected two fabrics for the half-hexagons (cut from 3-1/2" strips). I cut 3 of each fabric. Then it was time to DO THE TWIST!


One whole hexagon and six half-hexagons
You may think that there will be a y-seam in there somewhere. Don't worry - everything is straight-seam sewing. Do you remember how to make a "partial seam" from your garment sewing days? Well, I did and that's exactly how I constructed the first seam. This way I leave room for adding the last patch. Stay with me now.

We are sewing the six half-hexagon patches around the center in a log cabin technique.


First patch with a partial seam
Once the first patch is pressed open, the next patch is easily joined:


Joining the second patch
And all the way around until the last one:


Last half-hexagon joined. Now to finish the first seam!
We twisted our way all around that little birdie!
And how does this look finished? I machine quilted it on my HandiQuilter Sweet 16 and it was done in a flash. I also sewed my binding on by machine - from the back to the front and used a serpentine stitch on my Bernina 1230 (oldie but goodie machine) to secure it. Love this little mug rug! It is 12" high and about 13" wide.


Mug Rug using the Wings Collection by Jennifer Young
Thanks Debby! 

To be entered for a chance to win a fat quarter bundle of Wings, visit Debby's Blog and leave her a note about this collection or the Twisted Hexagon block (or technique). Contest ends Saturday, October 22nd at 11:59 pm EST. 


Make sure to catch all of the tutorials in our Mug Rug Blog Hop!
Tuesday: Chris from made by ChrissieD featuring Sewing Room
Wednesday: Debby from Debby Kratovil Quilts featuring Wings
Friday: Alison from Little Bunny Quilts featuring Kitchen Love

Love It? Share It! Facebook Twitter Google Pinterest Email

Tuesday, October 18, 2016

Mug Rug Blog Hop: Day 1

This week we're hosting the Mug Rug Blog Hop!
In celebration of fall, a season filled with mugs of apple cider, tea, and even hot cocoa, we have four different bloggers sharing a mug rug design they've created with one of our new fabric lines. 
BYOM (bring your own mug), but we'll provide the mug rug inspiration, as well as fabric giveaways! 


First up is Chris from made by ChrissieD, who was super excited to work with Amanda Murphy's Sewing Room line (including the coveted Bernina sewing machine print! Chris lets the adorable fabric do the work in her mug rug, and then adds a cute detail to the back. Scroll down to see! After you've checked out her tutorial, head over to her blog to enter for a chance to win a fat quarter bundle of Sewing Room for yourself! 


Hi, I'm Chris Dodsley of made by ChrissieD, a sewing teacher in Manhattan and VP of the NYC Metro MOD Quilt Guild, blogging about my textile crafts and travel adventures.  I love to share my tips, tutorials and projects on my made by ChrissieD blog, twice monthly newsletter and various social media sites including Facebook, Instagram, Pinterest, Twitter and Flickr.


It's Day 1 of the Mug Rug Blog Hop and today I'm showcasing Amanda Murphy's Sewing Room collection for Contempo.


The Sewing Room collection of 28 fabrics includes spools, scissors, dresses, tape measures and more.  The sewing machine fabrics are available in two versions WITH and WITHOUT the Bernina typed logo (compare above two images) - the Bernina logo version is available ONLY from authorised Bernina dealers.  All fabrics in the collection are 100% cotton.

SEWING ROOM MUG RUG
Finished size 8" x 4-3/8"


The Sewing Room Mug Rug is the perfect size for a mug of your favourite beverage and a handful of delicious biscuits or cookies or even a slice of cake - just what you need to give you an energy boost before you carry on stitching your latest project.

Supplies Needed:


All fabric sizes are width x height and Benartex fabric codes are in italics.

Front
4" x 4-3/8" - Spools White 3404-09
7/8" x 4-3/8" - Tape Measure Grey 3408-11
4-1/8" x 4-3/8" - Sewing Machines Red 3400A-10 without Bernina logo

Back
8" x 4-3/8" - Scissors Aqua 3402-84
8" x 7/8" - Tape Measure Grey Selvedge Edge 3408-11

Batting - 8" x 4-3/8"
Binding - 30" x 1-1/8" Tape Measure Grey Selvedge Edge 3408-11
Thread - Aurifil Variegated 50 wt  #4663 Baby Blue Eyes
Water-based glue stick


Mug Rug Front
Sew the 3 front sections together using a scant 1/4" seam allowance,


press seams,


and trim edges to straighten.


Mug Rug Back
Mark a line 3/8" from the bottom edge of the back. Press edge of selvedge back so only the first row of numbering and grey solid line are visible alongside the selvedge text.


Slip a sheet of paper behind the fabric strip and under the pressed back section of selvedge as shown below and run a water-based gluestick along this edge.


Place the bottom edge of the selvedge strip along the previously drawn line.


Press to set the glued edge.


The unglued edge can still be lifted.


With unglued edge lifted, sew down the length of the pressed line to secure selvedge to back with a stitched line.  Trim excess selvedge away at both ends.


Top-stitch down the length of open selvedge edge.  My top stitch is the blue line along the very edge of the selvedge text.


Lightly spray baste the back section,


and lay on batting.


Spray baste front section,


and attach to the other side of the batting.


Quilt through 3 layers.


Finishing Touches
Bind the quilted piece using your preferred binding method.  I've used a single fold binding that is only 1/4" finished width and perfect for mug rugs and small projects.  In the giveaway today on my blog, I've included my Single Fold Binding Tute.


SEWING ROOM MUG RUG


I hope you've enjoyed my day on the Mug Rug Blog Hop and want to make your own Sewing Room Mug Rug.  Head over now to my made by ChrissieD blog for a chance to win a Fat Quarter bundle of Sewing Room fabric and, of course, I'll be sharing my Single Fold Binding Tute with you too.  Looking forward to meeting you there! Chris :D


Make sure to catch all of the tutorials in our Mug Rug Blog Hop!
Tuesday: Chris from made by ChrissieD featuring Sewing Room
Wednesday: Debby from Debby Kratovil Quilts featuring Wings
Friday: Alison from Little Bunny Quilts featuring Kitchen Love


Love It? Share It! Facebook Twitter Google Pinterest Email