Showing posts with label Rio. Show all posts

Tuesday, November 29, 2016

Introducing Modern by the Yard: Issue #3

Ready for some modern inspiration? Today we're launching the third issue of Modern by the Yard magazine. You can browse through this e-zine from the comfort of your own computer/tablet/smart phone, or you can download it to your device for easy reference whenever you like. We have four projects featuring some of our favorite modern lines, plus a bonus--Debby Kratovil shares the pattern for the wall quilt she made in her Modern with a Twist column! We've also included a gallery of fabric art from Paula Nadelstern, and a fabric gallery showing more new collections we think you'll love! 


To view the third issue, click the box below. 


We hope you enjoy every page! 

In case you missed our sneak peek on Friday, here's a look at some of the pages:


by Kristen Danis


Modern with a Twist column by Debby Kratovil


X Marks the Spot by Stephanie Kendron


Table Art by Jayne Willis


by Lisa Swenson Ruble
If you missed our first two issues, find #1 here and #2 here.


********************************************************
Thanks to everyone who followed along in our Dreamscape Block Blog Hop the last two weeks! Here are our randomly drawn winners:
Day 1: Rochelle
Day 2: OhioLori
Day 3: AmyScrapSpot
Day 4: Gene Black
Day 5: Miss Pat
Day 6: Sandy Allen
Day 7: BizyStitches

Winners, we are emailing you today for your mailing address. Congratulations!
Love It? Share It! Facebook Twitter Google Pinterest Email

Saturday, May 14, 2016

Bali Blog Hop: Day 6

It's Saturday! Welcome to the last day of our Bali Blog Hop. We hope you've enjoyed all the block tutorials we've featured this week. Up today is Debby Kratovil with a lesson in ruler use that you'll enjoy! Debby always likes to say that she lets the fabrics tell her what they would like to become. Whether they whisper to her or send text messages to her cell phone - she trusts what they say! Check out her tutorial on how to make hexagon flower blocks and then head over to her blog for a chance to win a bundle of Rio and Dolce fat quarters. Let's join her as she tells us how the  Rio and Dolce Collections of batiks guided her.


Batiks from the Dolce and Rio Collections by Benartex

Hello, blog readers! 

Here are the five colors I chose for my project from the lovely Dolce and Rio collections. 
Five fabrics for Debby's flowers

I am still enamored with hexagon shaped blocks and patches. The most recent is the jewel (some call it a gem). I discovered how to cut it using a standard acrylic ruler with 60 degree lines and a 60 degree multi sized triangle ruler. For a finished 6" high jewel, I cut 4-1/2" wide strips. Then I cut the selvedge off on the left side at a 60 degree angle as shown below. I measured 4-1/2" from that edge and cut again. I was able to get three of these diamonds from each 4-1/2" x 22" strip (remember, I'm working with fat quarters).

Cutting 60 degree diamonds

I did this for each of the four bright batiks. The black and white will be my background fabric.
4-1/2" 60 degree diamonds

Then, to make the jewel, I needed to cut a 2" triangle off of one pointed end. Why 2"? Because the diamond will finish to 4". Other than that, I just know it works, ok?

Cutting a 2" triangle from one end of each diamond

Jewels and cut away triangles (which I don't use in this project)

I then cut 2-1/2" triangles from my black and white batik. These are cut using a multi-sized 60 degree ruler which I bet is in your sewing studio!

2-1/2" high 60 degree triangles

Here's is how these patches work together:
Sew a small triangle to each short side of all the colored jewels

And then what? I used 6 of the units above to make my daffodil block.
Sew 3 jewel/triangle units together into a large half-hexagon; repeat

I pressed the triangles away from the yellow fabric (toward the black batik). All other seams were pressed open.

Here is my "Daffodil" block, which finishes to 12" high.

Daffodil Block #1
And then I sewed a block using two each of the other 3 colors:
Tri-colored Block #2
And then I sewed one last block, also using two each of the other 3 colors, but this time I put each color together and if you use your imagination, you might see hearts!
Three Hearts Block #3

I hope you enjoyed seeing how versatile your acrylic rulers can be. No need to buy single size templates for these shapes!

For a chance to win a fat quarter bundle of the Dolce and Rio fabrics we're featuring in this blog hop, head over to Debby's blog. Let her know which of the 3 blocks you like (#1, 2, or 3).


Click here to see the entire Rio collection.
Click here to see the entire Dolce collection. 

Stop back each day this week to catch all of the tutorials!
Monday: Chris @ made by ChrissieD
Tuesday: Stephanie @ Stitched Together Studios
Wednesday: Benartex Blog Design Team
Thursday: Kirsten @ KD Quilts
Friday: Alison @ Little Bunny Quilts
Saturday: Debby @ Debby Kratovil Quilts
Love It? Share It! Facebook Twitter Google Pinterest Email

Friday, May 13, 2016

Bali Blog Hop: Day 5

Happy Friday the 13th! Don't let this superstitious date scare you away from our Bali Blog Hop! Today Alison from Little Bunny Quilts is here, sharing her block. Enjoy her tutorial and then head over to her blog for a chance to win a a bundle of Dolce and Rio Balis! 


Hello! I'm Alison from Little Bunny Quilts and I am excited to be back here at Sew In Love With Fabric for the Bali blog hop! When I'm not quilting, I am working as a research chemist and wrangling two bunnies, Clara and Frankie.


Now on to the tutorial -- I call it Aruban Puzzle as it is a fun take on a classic Dutchman's Puzzle Block!

Cutting:


  • Eight (8) 3 7/8 inch squares cut diagonally once for sixteen (16) triangles in your background fabric (I used black)
  • Eight (8) 2 5/8 inch squares (I used two different fabrics and cut four from each fabric)
  • Four (4) 4 1/4 inch squares cut diagonally twice for (16) triangles (I used two different fabrics and cut two squares from each fabric)


Sew two small triangles to each of your small squares - you will make eight of these units.


Sew your large background triangles to your units to make eight large flying geese units.


Sew your flying geese units into pairs -- since I made two sets of four units, I paired the different units together with the same unit on "top" for each pair.


Lay your units out as shown below and sew together for your finished block!


Thanks for letting me share this fun twist on a classic block with you!


For a chance to win a fat quarter bundle of the Dolce and Rio fabrics we're featuring in this blog hop, head over to Alison's blog.


Click here to see the entire Rio collection.
Click here to see the entire Dolce collection. 


Stop back each day this week to catch all of the tutorials!
Monday: Chris @ made by ChrissieD
Tuesday: Stephanie @ Stitched Together Studios
Wednesday: Benartex Blog Design Team
Thursday: Kirsten @ KD Quilts
Friday: Alison @ Little Bunny Quilts
Saturday: Debby @ Debby Kratovil Quilts
Love It? Share It! Facebook Twitter Google Pinterest Email

Thursday, May 12, 2016

Bali Blog Hop: Day 4

So glad you stopped by! Are you as ready to make your next quilt from Balis as we are?! We have three more days of block inspiration, including today's post from Kristen @kdquilts. Enjoy her tutorial and then head over to her blog for a chance to win a a bundle of Dolce and Rio Balis! 


Hello to all the wonderful readers of Sew in Love With Fabric! I am so excited to be here sharing my abstract modernistic leaf block. When I was looking at the fabric, plotting and planning what to create, I couldn't get past the leaf imprints on most all the colors. A few years back I helped my mother-in-law make a quilt for my husband's grandmother. It was full of leaves and strip pieced blocks. I took those leaves and combined that with a mini quilt I made last year and came up with a leaf block of sorts. so without further adieu, here's the tutorial for my abstract, modernistic leaf block.


Materials:
6 fat quarters, cut into 12 strips 2.5 x 13 inches
2 background squares 4 inches each
2 x 18 inch strip for center of block
Sew:
Sew the fat quarter strips down the long side into two sets of six.
image

Cut each set in half diagonally. Each set from the opposite corner.
image

image

Take one triangle from each set and sew the white strip between them.
image
Trim block to 12.5 inches.

Place a white square on both of the colorful corners. Draw a line on each white square from corner to corner. Sew along that line.
image

Trim triangles with 1/4 inch seam allowance.
image

That's it! With the left overs, you have most of a second block already finished...a complete bonus! I'm going to make a few more blocks and make a wall hanging for my sewing area. Check back in a few weeks to see it all finished!
image
A big thank you to Benartex fabrics for including me in the Batik blog hop! I can't wait for my finished mini quilt to be hanging above my machine!


For a chance to win a fat quarter bundle of the Dolce and Rio fabrics we're featuring in this blog hop, head over to Kristen's blog.


Click here to see the entire Rio collection.
Click here to see the entire Dolce collection. 


Stop back each day this week to catch all of the tutorials!
Monday: Chris @ made by ChrissieD
Tuesday: Stephanie @ Stitched Together Studios
Wednesday: Benartex Blog Design Team
Thursday: Kirsten @ KD Quilts
Friday: Alison @ Little Bunny Quilts
Saturday: Debby @ Debby Kratovil Quilts
Love It? Share It! Facebook Twitter Google Pinterest Email

Wednesday, May 11, 2016

Bali Blog Hop: Day 3

Welcome back! We hope you're feeling inspired by all the fun ways we're showing how to use our vibrant Balis! Today's block has several variations--we're confident there's a version for everyone to love! 

Because we just can't admire them too much, another look at the bundles we're working with this week:


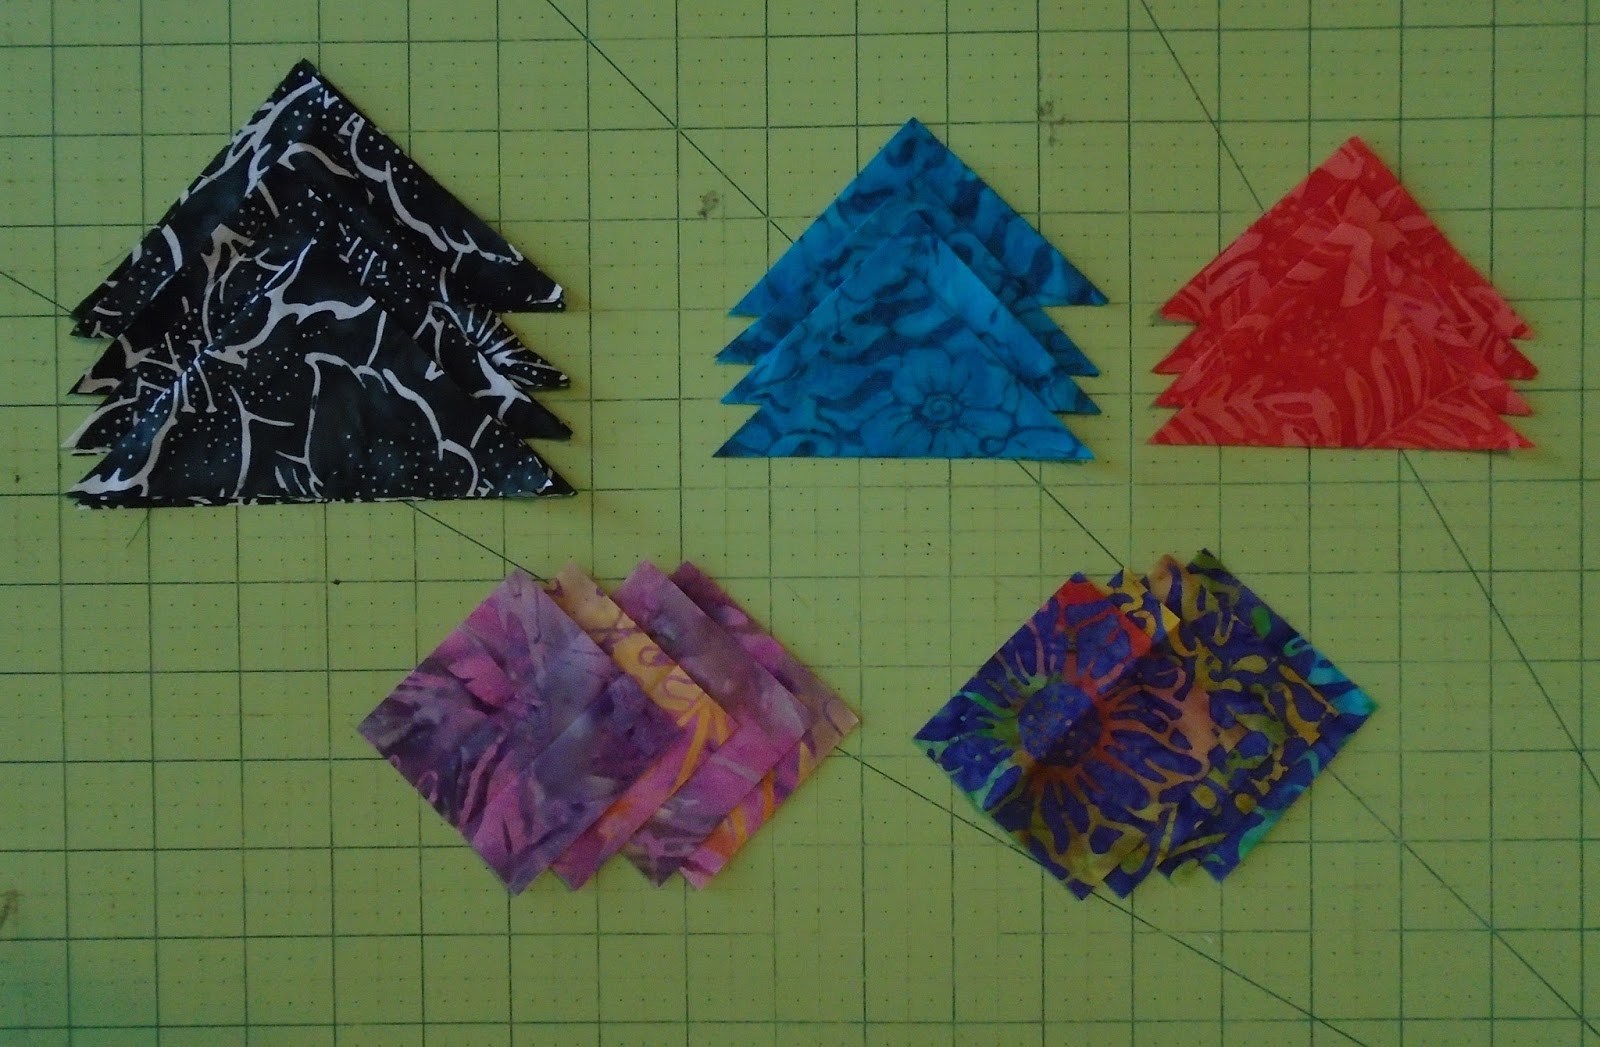
Six prints from the Dolce Balis

Six prints from the Rio Balis

These fabrics aren't available in quilt shops yet, but you can win a bundle of Rio and Dolce Balis to play with! (Today and each day of our blog hop...six chances!) You'll see how at the bottom of this post. 

The block(s):
We call them Diagonal Bullseyes. 

These 12" square finished blocks are stitched on a foundation and can be made using straight or wonky piecing techniques. We'll show you how to make the wonky block; the more traditional straight-pieced block uses the same method--just be sure to align your raw edges before sewing rather than angling the strips! 

Materials: 
1/3 yard white solid
Rio and/or Dolce fat quarters

Cutting:
White solid:
Four 6-1/2" white squares (for foundation)
Four or five 1" x 42" strips

Bali fat quarters:
A variety of 18" strips, ranging in width from 1-1/2" to 2-1/4"

Making the Block:
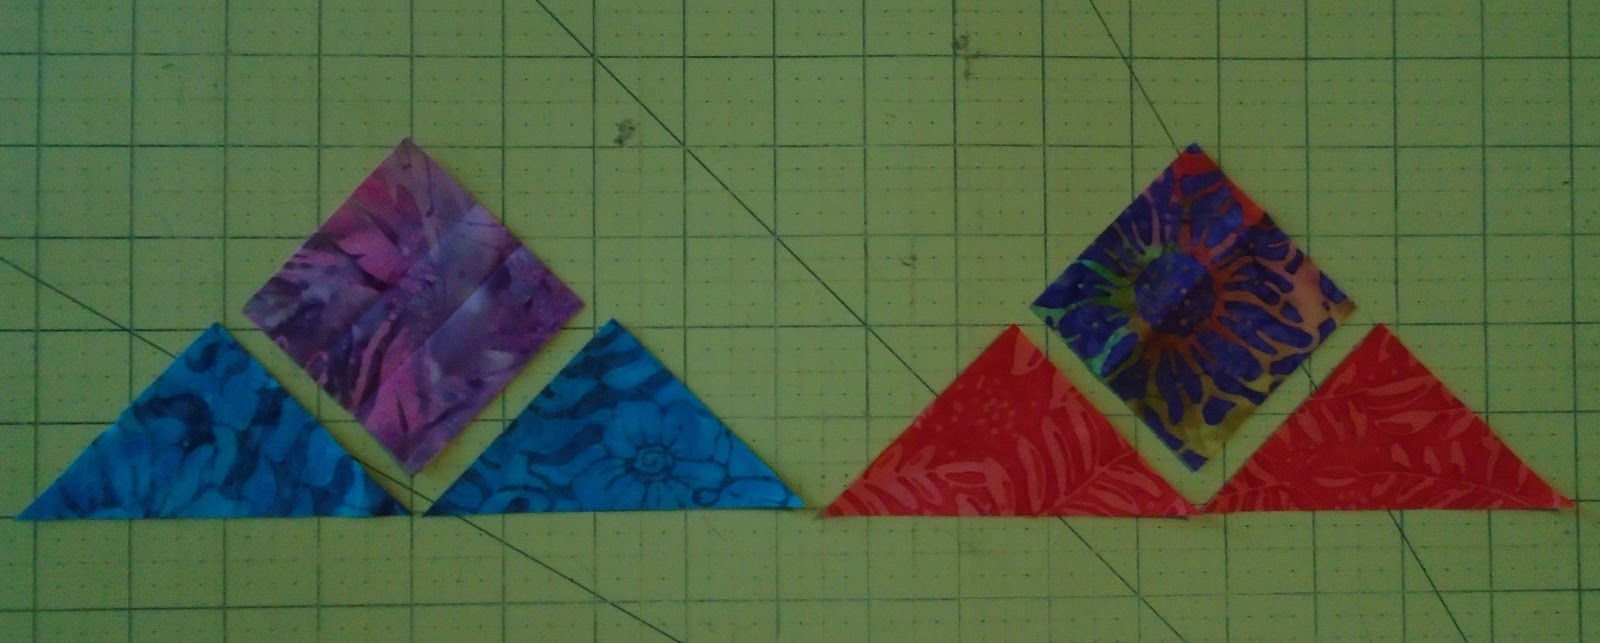
Step 1: Layer a colored strip and a white strip right sides together diagonally across a 6-1/2" square. Sew using a 1/4" seam allowance. Press open. 

Step 2: Add a white strip to the opposite side of the colored strip. As you add strips, angle them along the raw edge of the existing strip to create a wonky look. After adding an angled strip, you'll need to trim so the seam allowance is only 1/4". This eliminates both bulk and the potential for shadowing of the darker fabric through the white. If you have an "Add a Quarter Inch" ruler (typically for paper piecing), you can use it here, as we did. Otherwise, a regular ruler works fine. Trim the seam allowances of the two strips to 1/4" past the seam. *Important!! Fold the foundation square out of the way before trimming the strip.* After trimming, press strips open.

Here's another example of adding an angled strip for a wonky look. Try to angle strips at least 1/4" so they actually look wonky. Otherwise, it will just look like you didn't piece terribly straight. We're aiming for purposely wonky!


Here the red strip is trimmed so the seam allowance doesn't show beyond the white strip. 


Step 3: Continue adding strips in both directions from the center strip, alternating between colored strips and white strips. Trim seam allowances each time and press strips open. The gray strip below has been added on an angle but the seam allowance still needs to be trimmed. 

Gray strip flipped and pressed open:

Step 4: When you're finished, the white square will be completely covered with strips, like this. (As you add strips, you can trim excess length from beyond the white square.)

Step 5: Flip it over and trim to 6-1/2" square. 

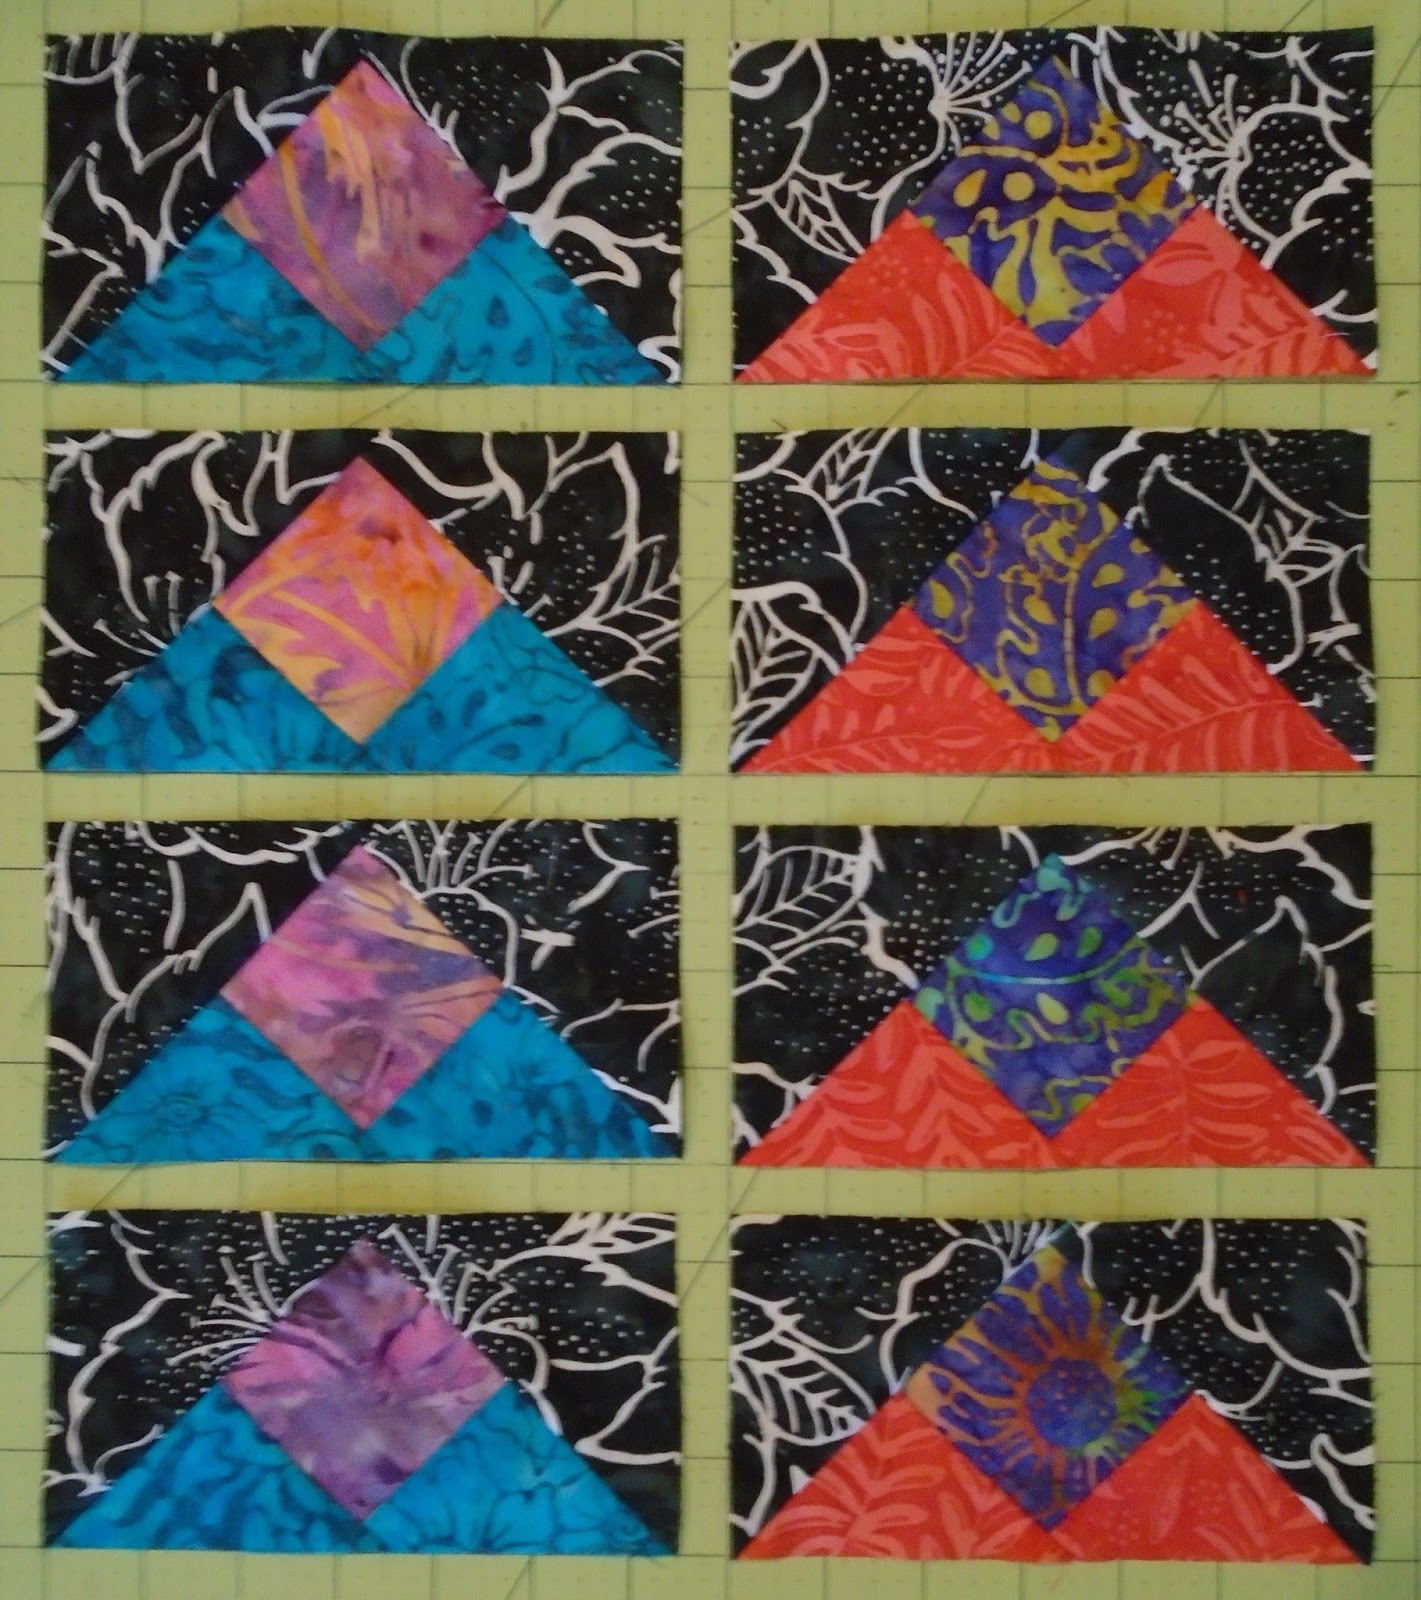
Here's a finished quarter block:

Step 6: Repeat to make three additional quarter blocks. 


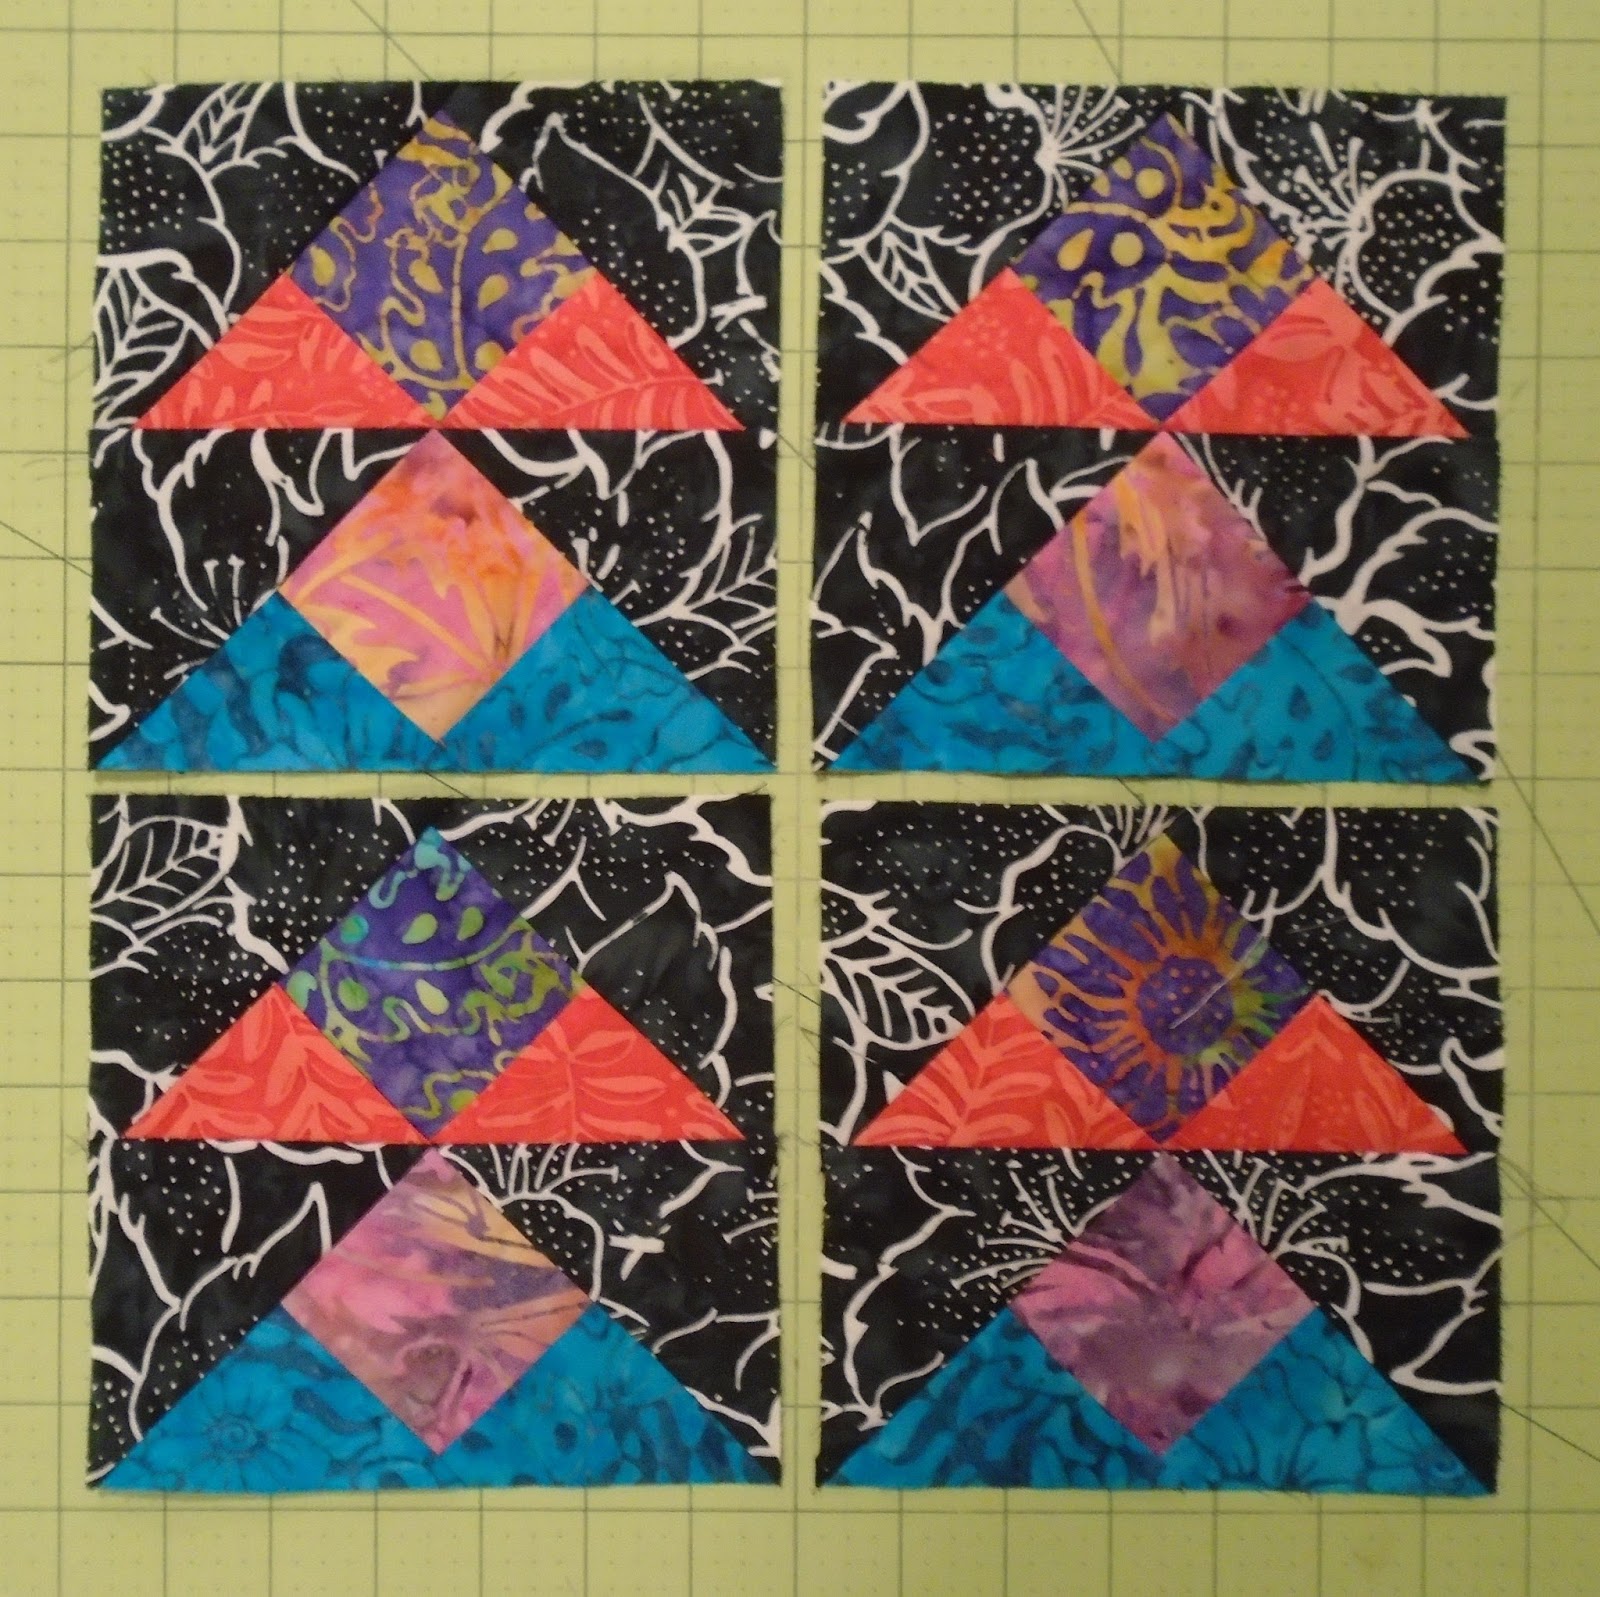
Step 7: Sew the quarter blocks together in pairs, noting orientation of the stripes, and then join the pairs to complete the block. Press the seams open to reduce bulk. 

If wonky isn't your thing, here's an example of the same technique used with straight piecing. Just make sure your strips have raw edges aligned rather than angled before sewing. No trimming of seam allowances necessary! If you like the way the thin white strips look, you can add them in here as well; simply alternate them with the colored strips. 

Although we only show two, there are at least four possible variations to this block--wonky with white strips, wonky without white strips, straight pieced with white strips, and straight pieced without white strips. And if you want an even more uniform look, consider using the same width strips in each position of the quarter block--when you assemble the quarter blocks, the strips will line up perfectly. So many choices! 

For a chance to win a fat quarter bundle of the Dolce and Rio fabrics we're featuring in this blog hop, make sure you're following us, either through a blog reader or by email (both options in the right-hand sidebar). Leave a comment below letting us know that you are, and also telling us whether you like the Dolce or Rio collection better. Giveaway is open through Monday, May 16th at 11:59 pm EST.


Click here to see the entire Rio collection.
Click here to see the entire Dolce collection. 


Stop back each day this week to catch all of the tutorials!
Monday: Chris @ made by ChrissieD
Tuesday: Stephanie @ Stitched Together Studios
Wednesday: Benartex Blog Design Team
Thursday: Kirsten @ KD Quilts
Friday: Alison @ Little Bunny Quilts
Saturday: Debby @ Debby Kratovil Quilts
Love It? Share It! Facebook Twitter Google Pinterest Email