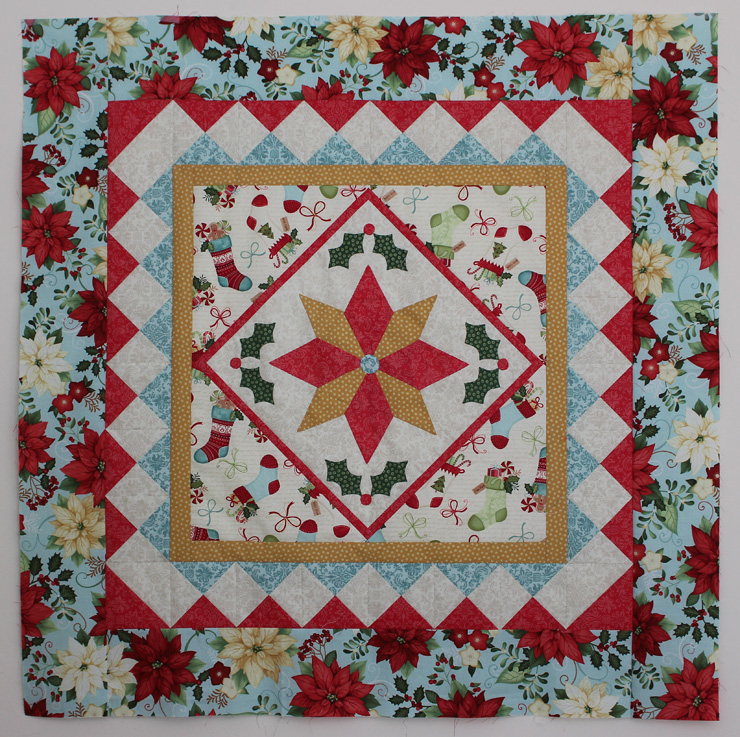
If you're anything like us, you had grand plans to finish a quilt for the holidays early this year, and it didn't happen. And with Thanksgiving around the corner and December fast approaching, you're probably feeling like it's not going to happen. We can help you change that feeling! Meet the "Boxing Day" quilt.
Wendy Sheppard of Ivory Spring designed "Boxing Day" for The Quilter magazine. This quilt combines super-easy pieced blocks with pre-printed panel squares from Michele D'Amore's Home for the Holidays collection.
 |
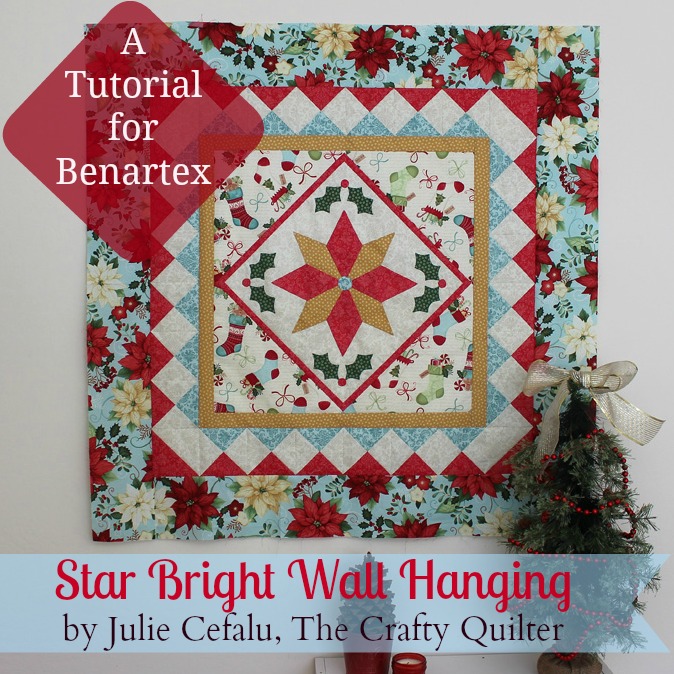
"Boxing Day" by Wendy Sheppard;
featured in The Quilter magazine December 2013/January 2014 |
Wendy will take us on a little tour of her quilt and design process.
The colors - I love
the traditional Christmas colors. To see the palette of the collection
come in softer tones was exciting, and I love how the blue was mixed in for a
slightly contemporary look.
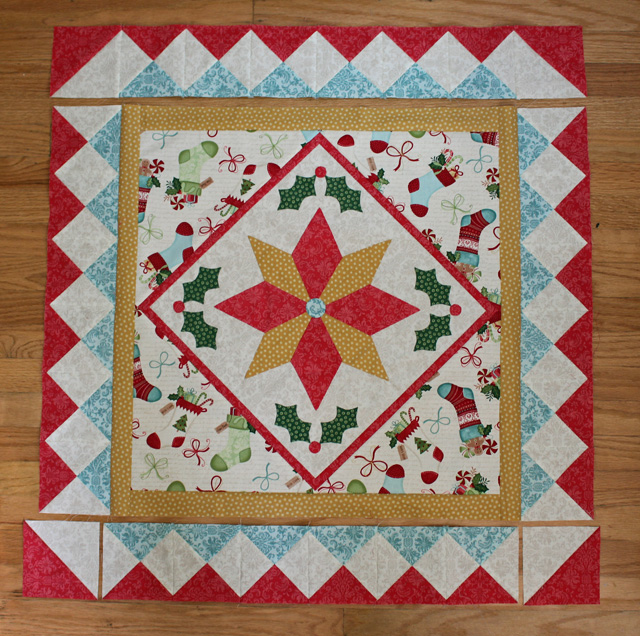
Why did you
decide to mix pieced blocks and the fussy-cut squares together in the design?
The panel has 6
different block scenes, and since I wanted a larger quilt, I needed something
else to fill in the gap, so to speak.
What prompted
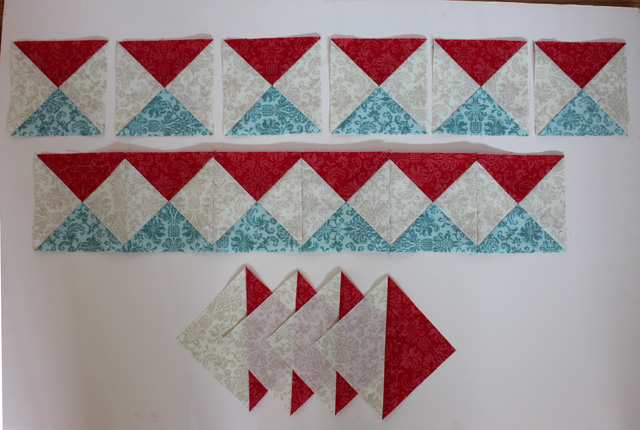
you to add the solid colored square in the pieced blocks?
After deciding on what
pieced blocks to use, I wanted the blocks to reflect the spirit of Boxing Day.
The solid colored squares represent the goodies contained in the
"gift boxes."
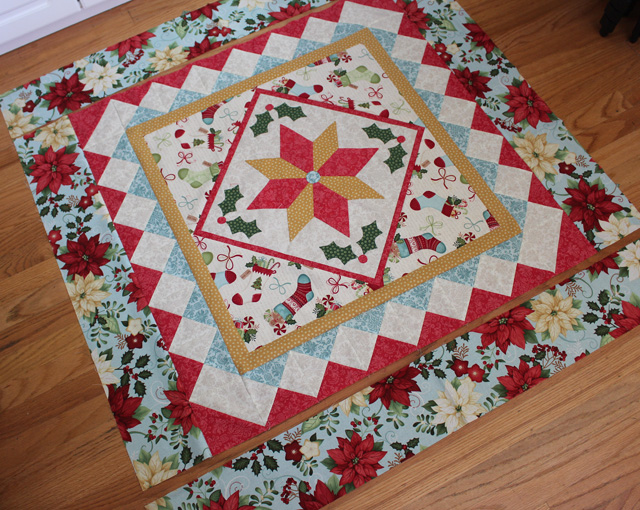
Can you talk
about your layout decisions?
I was trying to use
the vertical strip layout to show a slightly different way to incorporate panel
and pieced blocks in a quilt. I wanted the focus to be the quilt center.
Therefore, I didn't use a print for the outer border. And I
intentionally did a relatively narrow outer border to emphasize focusing on the
quilt center. I chose the red narrow sashing to frame the quilt center so
that the eye would be drawn to all the interesting details in the quilt center.
What do you like
best about this quilt?
The fabrics - the prints
are just perfect for a fresh, and yet traditional quilt.
Talk about the
machine quilting motif you chose.
I quilted my Jester's
Hat motif in large scale for texture. I didn't want the quilting to take
away from the fabric prints. I have written about
my Jester Hat motif about here, here and here).
Thanks Wendy! What a great holiday quilt!
See the entire Home for the Holidays collection here.
Purchase the kit for this quilt here.
Read more about Wendy here and see her post about "Boxing Day" here.
Find The Quilter magazine here.