
 |
| Wild West Saloon Fabrics |
A: Well, I'm married to a Texan. Is that enough of an answer? While he isn't into guns or poker (well, sometimes he can be enticed to play with the guys), he loves those boots. Hey, where is the picture of the boots?
 |
| These boots were made for walking . . . |
When I showed the collection to Phil, it was a no brainer. He said, "OK. Where's my quilt?"
A: I recalled two applique blocks I had designed for a pattern several years ago and realized that this fabric would be perfect to replicate them. I even have them available for our visitors to the Sew in Love with Fabric blog. Keep reading (but first, look at the pictures!)
A: First I pulled up my Cactus Block. (Note: this is not the true size for the applique; that comes later.)
 |
| Keep your distance! I've got pricklies! |
Then I pulled up my Boot Block.
 |
| No spurs on this one! |
Now it's time to show you the steps!
 |
| Cactus template |
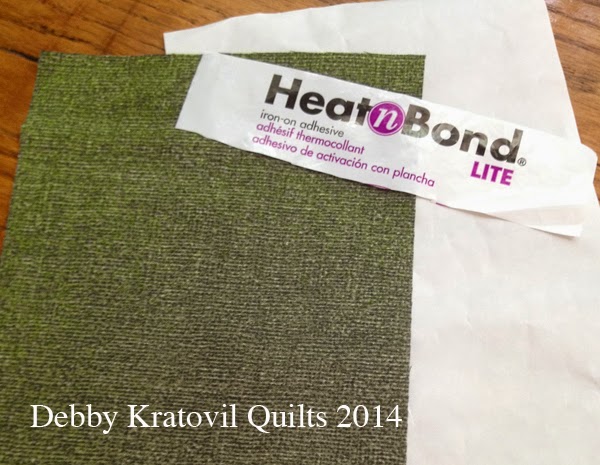
Here are four colors from the Burlap Collection (the color "Leaf" green is at the bottom). (I was also auditioning background fabrics and this dotted one is from an earlier Benartex fabric line called Normandy.)

 |
| Now I can reuse the Cactus template of freezer paper (on the right here) |


 |
| Boot template |
 |
| Using the "Clay" colored fabric from the Burlap Collection |
Turn the freezer paper template over and use the placement lines to line up the shapes. You may have to hold this up to the light. Gently lower the freezer paper template and shape down onto the boot and do a little sneaky-peeky to check and see if it's "close enough for government work" and then hit it with an iron. Repeat for remaining Patch B.

 |
| Auditioning thread |
Here is the boot already appliqued. I found a beige background print, again from an earlier Benartex Collection (Winter Traditions).
 |
| Appliqued boot |
 |
| Boots are AWESOME |
Centers are cut 8-1/2" squares. The side strips are 2-1/2" x 8-1/2" and the top/bottom strips are cut 2-1/2" x 12-1/2". Easy.
 |
| Sure to be a winning hand! |
A: I only have 6 blocks finished and my husband's armadillo insisted on getting in the photo!
 |
| 6 blocks + an armadillo |
I have an assembly diagram for the larger quilt that I'm aiming for, along with the full size templates that our visitors can have. Yardages are on your own. Bookmark this page for the Alternate Blocks information.

But here is a digital layout of how my pattern goes together. It is contained in the 3 page pdf (link below).
Best of the West pattern made with the Wild West Saloon Collection is HERE: Western Saloon Pattern.
Thanks, Debby, for walking us through your applique techniques!
And don't forget to check out the entire Wild West Saloon collection here--perfect for any cowpokes (or wannabee cowpokes) in your life!
Love It? Share It!


Do you use any stabilizer on the back of the background fabric when you zig-zag/applique to keep things from puckering?
ReplyDeleteCute Pattern!
ReplyDeleteGreat guy quilt and fabrics. Thank you for sharing your patterns and techniques. Cowboy Bliss...
ReplyDeleteGreat pattern! Thanks for sharing and for the appliqué tips.
ReplyDeleteI had a class with Debby she is wonderful..
ReplyDeleteThanks,
Stephanie