

Hello, my name is Svetlana Sotak and I blog over at s.o.t.a.k handmade. I'm so glad to share these notebook covers with you today.


As soon as I came across Britain's Best collection, I knew they would be perfect to make these covers. Fun, aren't they? The print on top is my absolute favorite :)
*******************************
Here's what you'll need to make your notebook cover (fits the regular 9-3/4" x 7-1/2" composition notebook) :
1/2 yard exterior fabric
1/2 yard lining fabric
medium weight interfacing
Let's start, shall we? Oh, all the seams are 1/4" unless otherwise stated.
Step 1: cutting the fabric and interfacing
main fabric: cut two 11" x 14" rectangles
lining fabric: cut one 1-1/2" x 11" strip for the spine of your notebook cover
cut one 11" x 16" rectangle
interfacing: cut one 11" x 28-1/2" rectangle
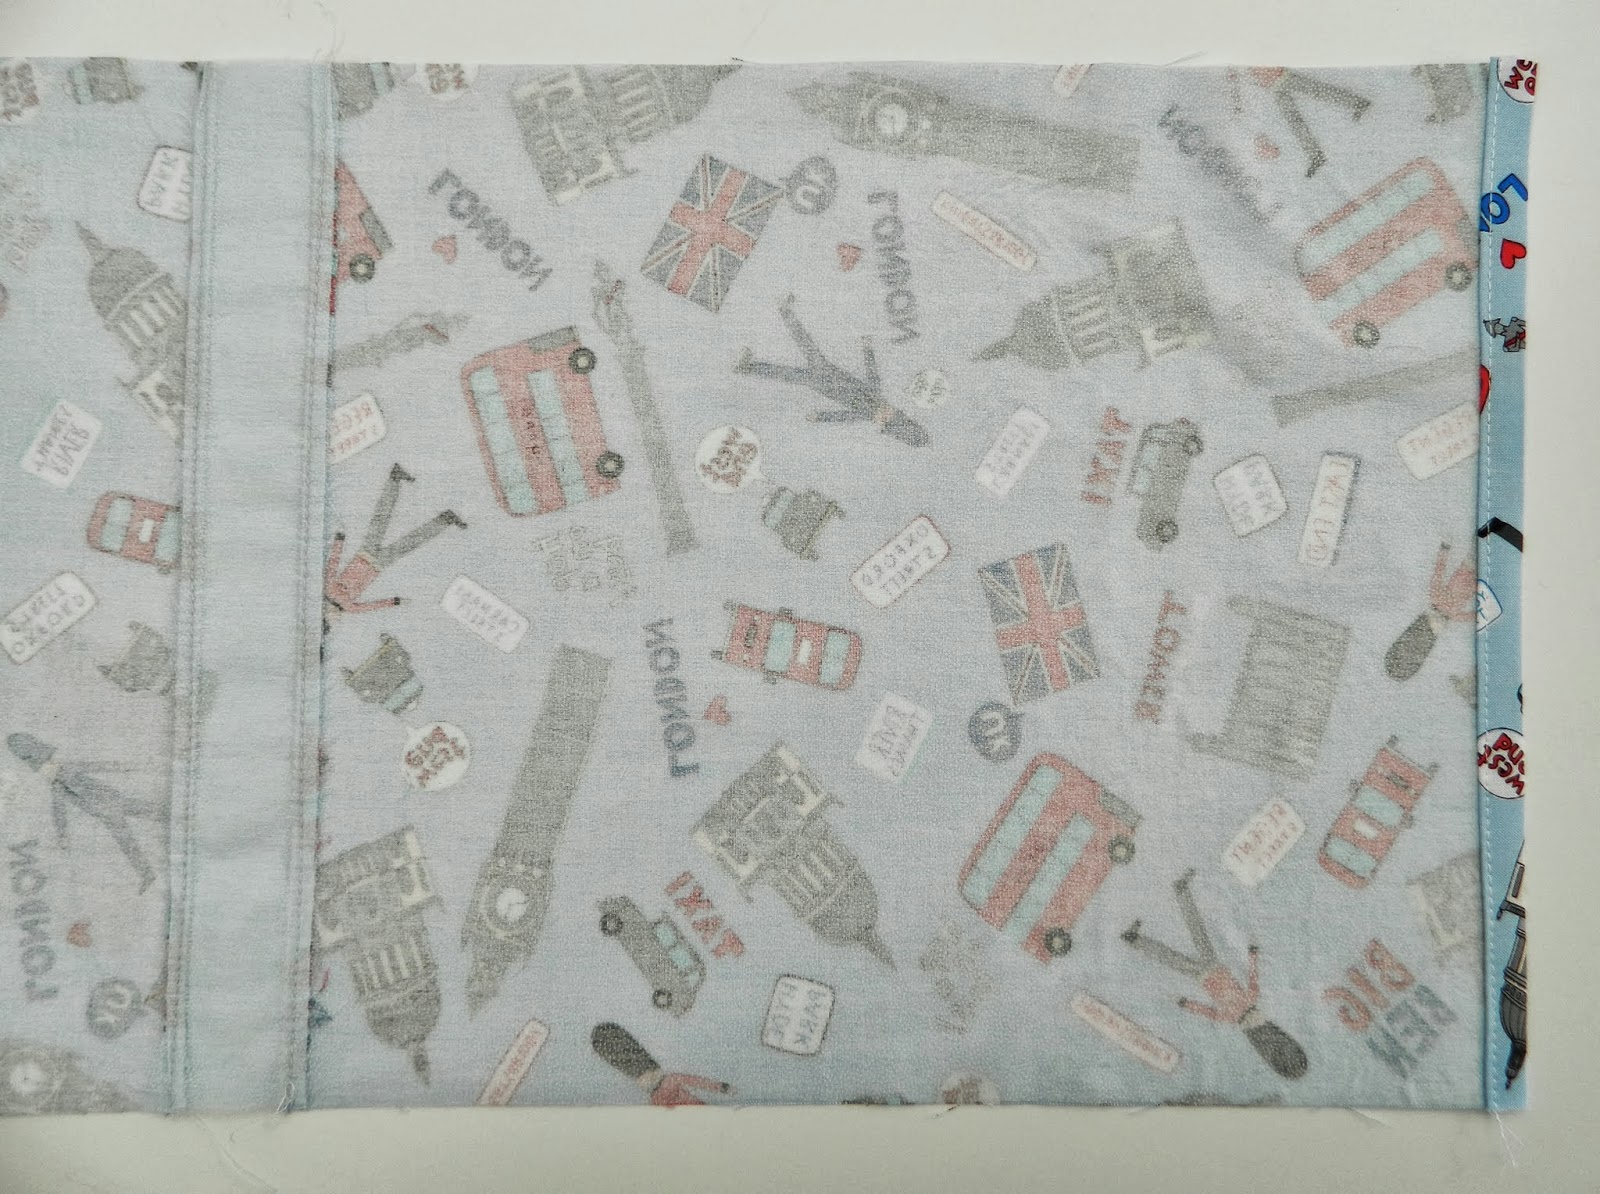
Step 2: assembling the main/ exterior panel

Arrange the fabric for the exterior of the cover as shown in the picture. Stitch all three parts together and press the seams. The panel now measures 11" x 28-1/2".
Step 3: fusing the interfacing

Following the manufacturer's directions, fuse the 11" x 28-1/2" interfacing to the wrong side of the main panel.
Step 4: shaping the main panel
Hem both 11" edges of the main panel (fold 1/4" under, then fold 1/2" under, stitch in place).

Place the main panel right side up. Form the flaps by folding the main fabric over at 5-1/2" mark from the edges of the main panel. Pin, stitch in place using 1/8" seam allowance.
Your main panel now measures 11" x 16".
Step 6: attaching lining to the main panel

With lining fabric right side up, place the main panel on top of it (right side down), right sides of the lining fabric as well as the main panel are touching.

Pin and stitch all the way around, making sure to leave a 4" opening on the bottom for turning.
Step 7: finishing the cover

Trim the corners, press the seams open, and turn the cover right side out through the opening from the previous step.

Press, pin the opening closed, and stitch all the way around the cover using 1/8" seam allowance.

Give it one more quick press and you're all finished!!!
Wasn't that easy? Now go ahead and make covers for all your notebooks.
They make great teacher gifts, too :)
Thanks so much for reading, everyone. Hope you enjoyed the tutorial!
Thanks Svetlana!
Head over to Svetlana's blog to find out how you can enter to win a fat quarter bundle of the Britain's Best fabrics.
Don't miss the other tutorials (and giveaways!) featured in our September blog hop:
Day 1: Urban Oasis Table Runner from Kristen of KD-Quilts
Day 1: Urban Oasis Table Runner from Kristen of KD-Quilts
Day 2: QAYG Drawstring Backpack from the Benartex blog team
Love It? Share It!


Great tutorial!
ReplyDeleteThanks Svetlana!
The notebook cover is a great gift idea. Thanks.
ReplyDeleteI am a Benartex follower
Another fun project! Thanks!
ReplyDeleteGreat tutorial and such cute fabric.
ReplyDeleteSuper cute.Sure I`ll make one.
ReplyDeleteLove this tutorial...great stuff...so glad I found this blog!
ReplyDeleteLove these. I am making some for the holidays
ReplyDeleteOhh thanks for these.. I was lookin for a tutorial just like this for my daughter!
ReplyDelete