
Parents everywhere are rejoicing as school begins again! In celebration of this special time of the year, we're hosting a Back to School Blog Hop. But "back to school" isn't just for the parents of school kids...it's also for anyone heading off to college, returning to school, or even just looking for a fresh start. With that in mind we're sharing three tutorials this week (plus fabric giveaways!) that will appeal to anyone in a back-to-school mindset!

First up is Chris from made by ChrissieD. Chris fell in love with the Simply Chic collection by Anna Stuart and transformed these beautiful florals into a sweet and super functional pencil case. Choose some fun novelty prints (you'll find plenty of choices in our Kanvas division!) to make this case for your kids or grandkids, but then be sure to make one for yourself using Simply Chic--everyone deserves a pencil case this pretty!

Hi, I'm Chris Dodsley of made by ChrissieD, a sewing teacher in Manhattan and VP of the NYC Metro MOD Quilt Guild, blogging about my textile crafts and travel adventures. I love to share my tips, tutorials and projects on my made by ChrissieD blog, twice monthly newsletter and various social media sites including Facebook, Instagram, Pinterest, Twitter and Flickr.

It's Day 1 on the Back To School 2016 Blog Hop and today I'm showcasing Anna Stuart's Simply Chic collection.

The Simply Chic collection of 23 fabrics includes roses, floral stripes, plaids and mini prints in sky blue, white, butter yellow, pink and red and is 100% cotton.
Imagine yourself in a Simply Chic layered, country skirt or dress, yep you're right there with me - I was stitching up projects in my head and had to pull myself back to thinking about 'Back To School'! So I've made two projects using six of the Simply Chic fabrics in the red/white/blue colour ways - a pencil case and a satchel - today, I'm sharing the pencil case tute. The satchel pattern will be available via my made by ChrissieD blog when it is tested and finalised.


BACK TO SCHOOL PENCIL CASE
The Back To School Pencil Case is made wide enough to hold a 12" ruler and a notepad up to 5-5/8" wide alongside just about anything else you might need on your first day Back To School. It also has a separate zippered front pocket to hold your spare change and even your phone!

Supplies Needed:
The Back To School Pencil Case is made wide enough to hold a 12" ruler and a notepad up to 5-5/8" wide alongside just about anything else you might need on your first day Back To School. It also has a separate zippered front pocket to hold your spare change and even your phone!

Supplies Needed:
2 x zippers (minimum length 14")
I have used 6 Fat Quarters of Simply Chic fabric - fabric cutting requirements are detailed below.
1/2" D-ring (optional)
Cutting Fabric:
Back - 13-1/2" x 7" - Toile Check Sky Blue - 3818-05
Upper Front - 13-1/2" x 1-3/4" - Blossom Red - 3817-10
Lower Front - 13-1/2" x 5-1/4" - Flora Eye Ribbon Sky Blue - 3815-05
Lining (cut 2) - 13-1/2" x 7" - Floret White - 3816-09
Pocket Lining - 13-1/2" x 7" - Cherries White - 3813-09
D-ring Tab (optional) - 2" x 2" - Gingham Sky Blue - 3814-05
Sew together the pencil case as shown in the photos below. The photos walk you through each stage step-by-step, lay your fabrics out exactly as I've done as you work your way through the project.
Pencil Case Front & Pocket
Layout out your Lower Front, Upper Front and zipper as shown.

Flip the Upper Front over on top of the zipper and sew together.

Sew the zipper along the raised grain line that is approximately 1/4" from the edge of the zipper.

Lay the zipper and Upper face down on top of the Lower section as shown below.
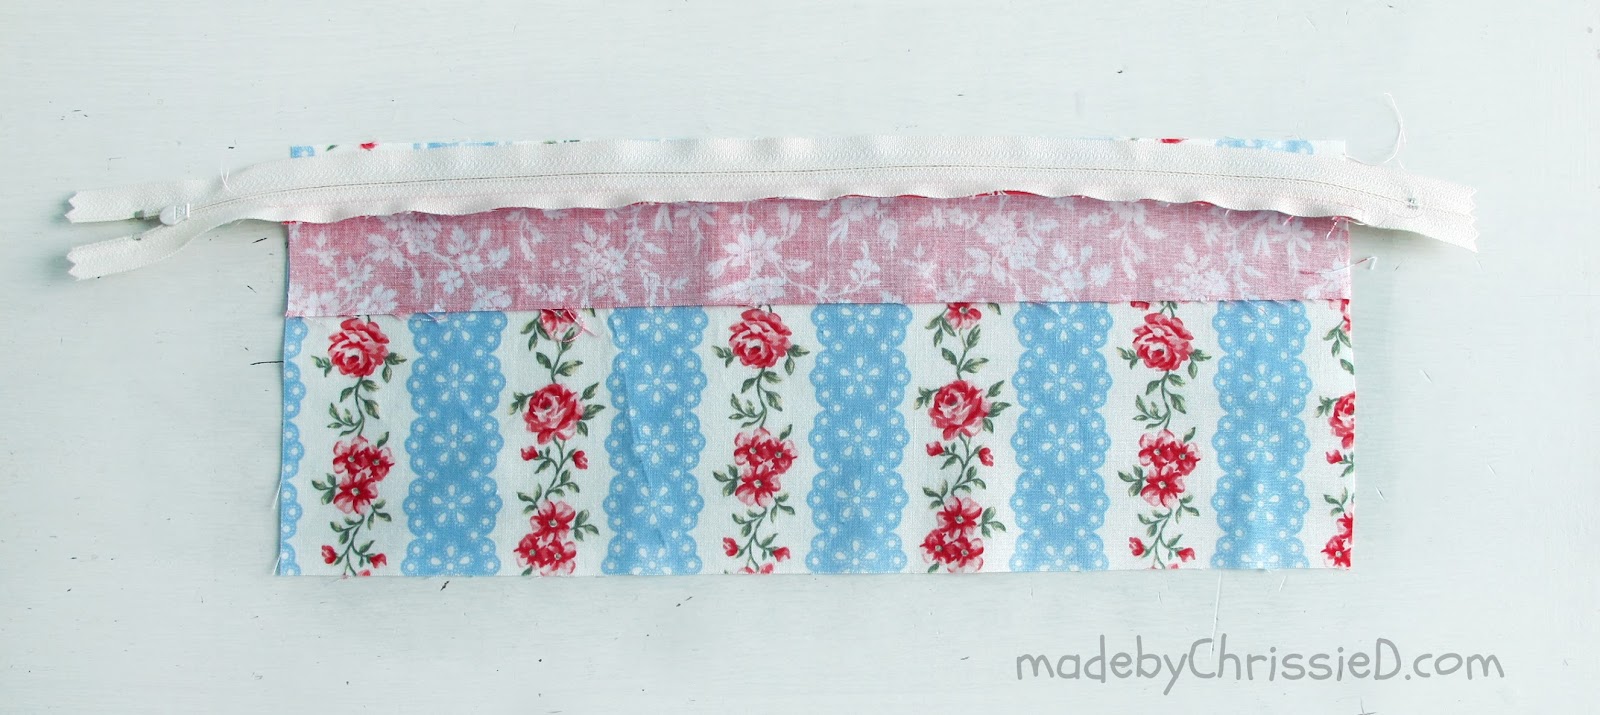
Sew along the zipper grain as before to join.

Press Lower and Upper Fronts away from the zipper teeth.

Top stitch the Upper and Lower Fronts on both sides of the zipper at approx 1/8".
From this point on I'll refer to the Upper and Lower Fronts as the Front.

Move the zipper pull within the body of the Front as shown below and stitch 3 rows of straight stitch across the open zipper end to hold the zipper together (see far left of zipper below).

The zipper pull MUST BE to the right of the holding stitches as shown.
Trim away excess zipper along sides of Front as you can see I have in the photo below.

Place the Front on top of the Pocket Lining - Pocket Lining right side up and Front right side up also.

Stitch around all 4 sides at 1/8" to secure the two sections together and create the pocket.

Remove the zipper holding stitches as the zipper is now held by the 1/8" stitch line
you have just sewn around the Pocket Lining and Front.

D-Ring Tab (optional)
Press D-ring Tab fabric in half; open flat; press outside edges into the fold line; press in half again; stitch 1/16" around edges
- the narrow ends will still have visible raw edges.

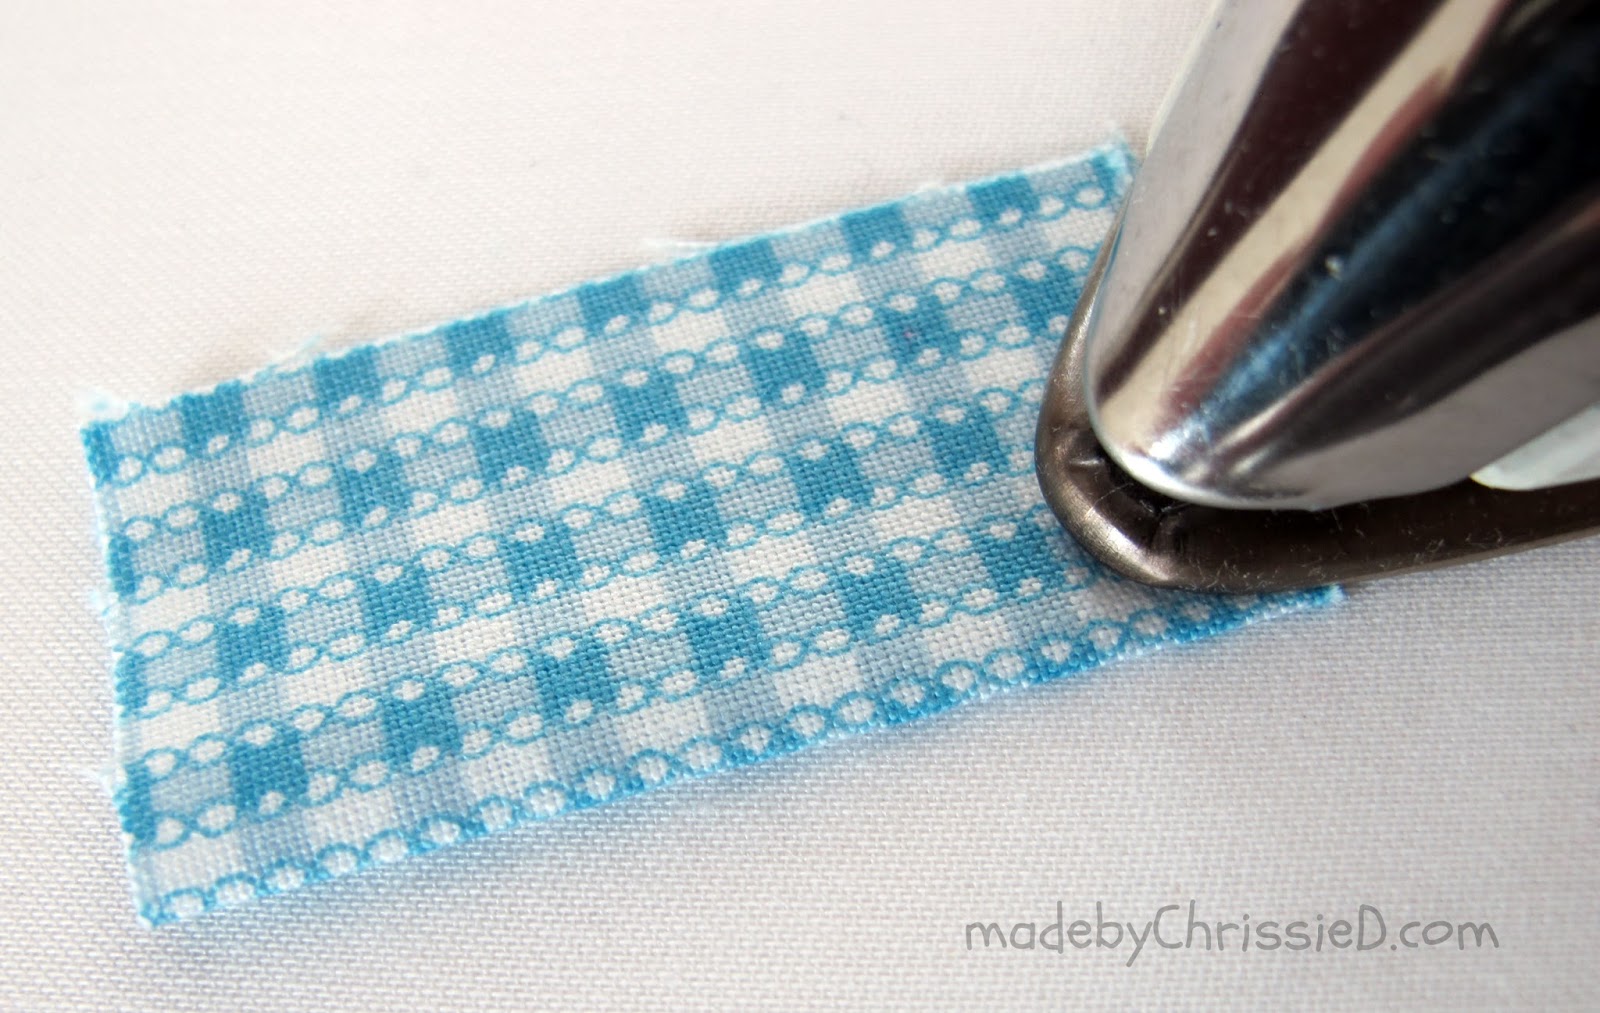
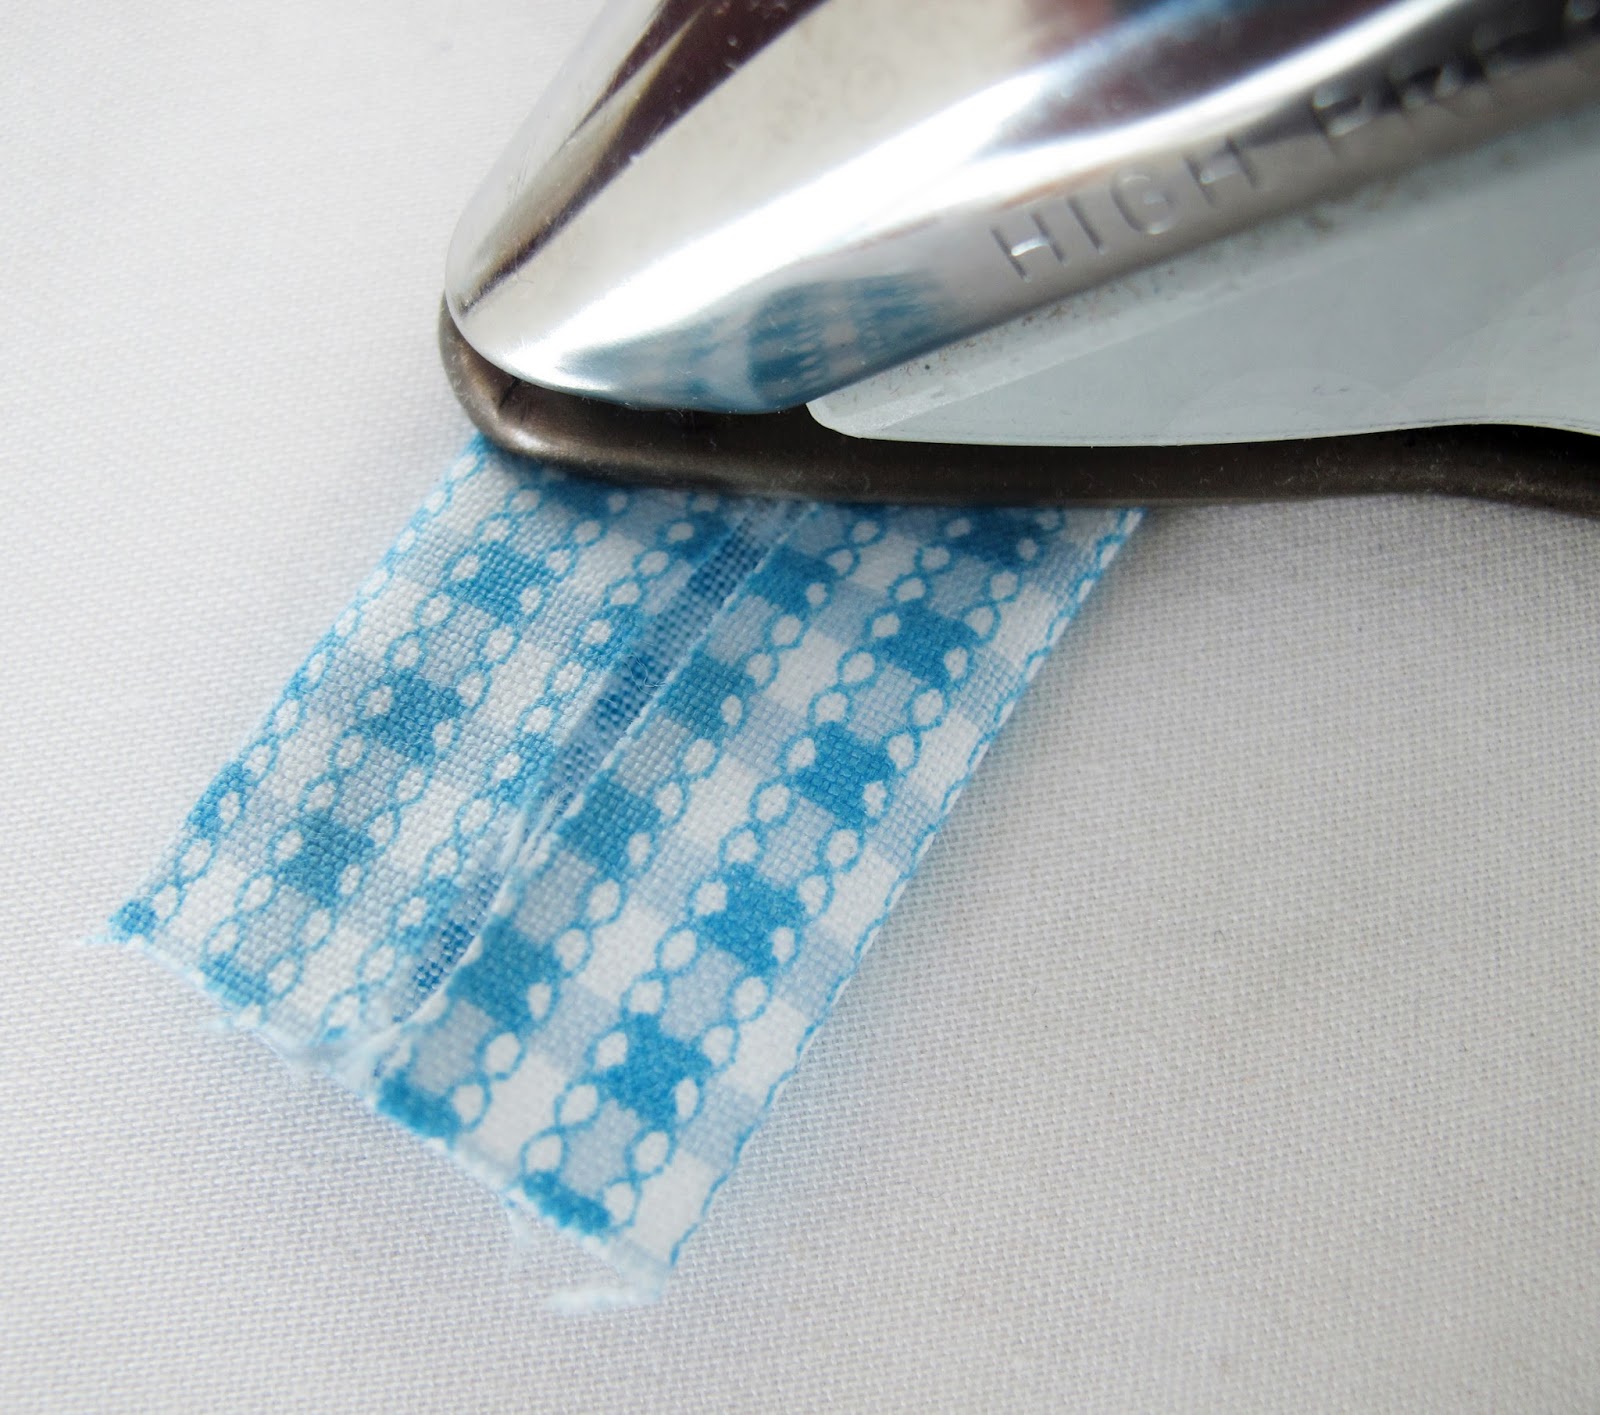


Fold D-ring Tab in half and slip the D-ring on - the D-ring is optional, you could just add a tab to the pencil case without a D-ring.
The tab itself is also optional.

Place the D-ring Tab folded over the right-hand end of the zipper on the Front, the ring/folded end should face inwards over the zipper.

Sew a few stitches at 1/8" to hold the D-ring Tab in place.

Attaching The Top Zipper
Layout out your Lining, Front and zipper as shown.

Flip over the zipper and sew it to the top of the Front along the zipper grain line as before.

Place the Lining on top of the zipper right sides together with the Front - be sure to line the side edges up neatly then sew over the same stitch line you've just created when you sewed the zipper and Front together.

The back now looks like this...

and the front looks like this.

Press the Front and Lining fabrics away from the zipper teeth, laying them flat against each other, wrong sides together.

Topstitch through all the layers along the fabric edge 1/8" from the zipper fabric.

Lay the Back, Front and zipper out as shown.

Flip the Back over onto the unsewn edge of the zipper, line up the side edges evenly and stitch together along the zipper grain line.

Lay your project out like this...

...and place the second section of lining fabric on top of the Back, wrong sides together.

Flip the Lining over on top of the last section of the zipper that doesn't already have a piece of fabric sewn to it. Line up the side edges and sew the Lining to the zipper over the previously sewn line attaching the Back to this zipper edge.

The Front/Back now look like this...

...and the lining looks like this.

Press Back and Lining away from zipper teeth and top stitch through all layers of the Back, zipper and Lining
at 1/8" from the zipper fabric.

Trimming & Seaming The Pencil Case
As before, move zipper pull so it's within the body of the pencil case
and sew a few stitches across the open end of the zipper to hold it in place.

Place a horizontal line of your ruler along the line of your zipper teeth and the vertical edge of your ruler along the side edge of your Front/Back. Trim away the excess zipper length and, if necessary straighten up the sides of your Front/Back.

Ensure your zipper is OPEN TO HALF WAY.

Lay the Front/Back right sides together and the Linings right sides together - zipper fabric should lay towards the Front/Back while the zipper teeth lay towards the Linings.

Pin around the sections - hard to spot the pins but they are there in the pic below!
Sew around the edges with a 1/4" seam and leave a gap in the Lining seam for turning.

Snip diagonally across the 4 corners - take care not to cut into your stitches.

Finishing Touches
Turn to the right side through the Lining seam gap and the half open zipper.

Take time to push the corner points out properly.

Turn in the raw edges along the bottom of the Lining and stitch along the opening using a 1/8" seam.

Pop the Lining inside the Front/Back section bring the corners together inside and press the finished pencil case.
BACK TO SCHOOL PENCIL CASE


I hope you've enjoyed my day on the Back To School Blog Hop and want to make your own Back To School Pencil Case. It's time now to head over to my made by ChrissieD blog for a chance to win an FQ bundle of Simply Chic fabric. I'll also be linking in my post there to a couple of techniques I've written to help you fit and turn the pencil case lining and there'll be more photos of my satchel project also - Chris :D

Make sure to catch all of the tutorials in our Back to School Blog Hop!
Wednesday: Chris from made by ChrissieD featuring Simply Chic
Thursday: Benartex Blog Design Team featuring Transformation Black & White
Friday: Wendy from Ivory Spring featuring Lemon Squeezy
Love It? Share It!


